I’ve twice addressed how Google Shopping feeds can enhance organic search listings. In “Real-time SEO: Create a Google Product Feed from an XML Sitemap,” I explained how to use a product feed to update organic listings, not just Shopping ads. And then, in “Measuring Traffic from Google Shopping’s New Organic Listings,” I reviewed how to track the results.
In this post, I will cover a more sophisticated technique of updating organic listings using the Google Shopping API. The need arose from a client with products that lasted for just a few days. Our goal was to accelerate the impact of the Shopping feed on natural search. The results thus far look promising.
Here is the plan, in order.
- List all products submitted in the Shopping feed.
- Identify one or more of the short-lived products that we want to change.
- Internally update the information for those short-lived products.
- Submit the info for those products back to Google Shopping via the API.
- Confirm that the product changes were successfully submitted.
We will then review — in Google Search Console and in the search results — the pages we changed to see the impact in Shopping ads and in organic listings.
To do this, we need to connect to Google Shopping and verify that the above steps work. The quickest way to do this is using APIs Explorer.
Prerequisites
APIs Explorer
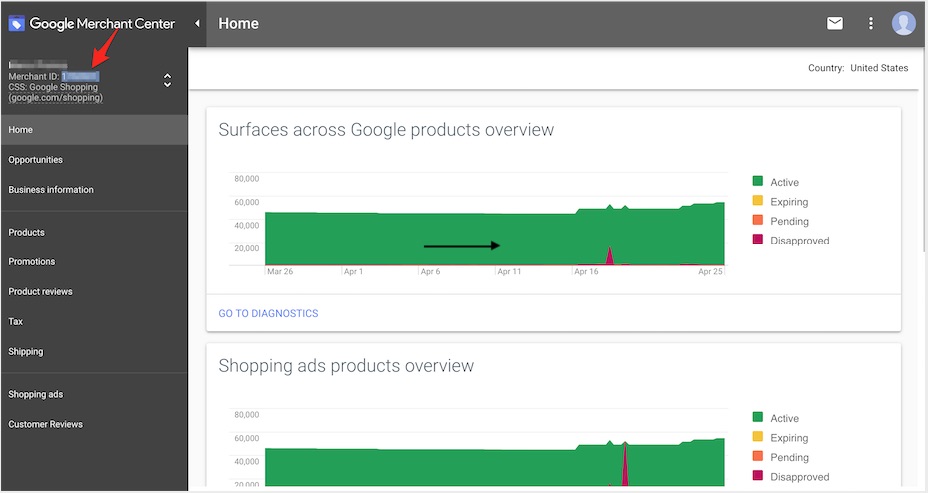
Head to APIs Explorer. Start by listing the products already submitted to Google Shopping. Provide the Merchant ID, which appears in the left column of the Merchant Center dashboard as shown below.
In addition to the Merchant ID, we can optionally specify how many products to list.
Two advantages of using APIs Explorer are: you don’t need to understand the authentication aspect, and there’s no need to write code to verify the concept.
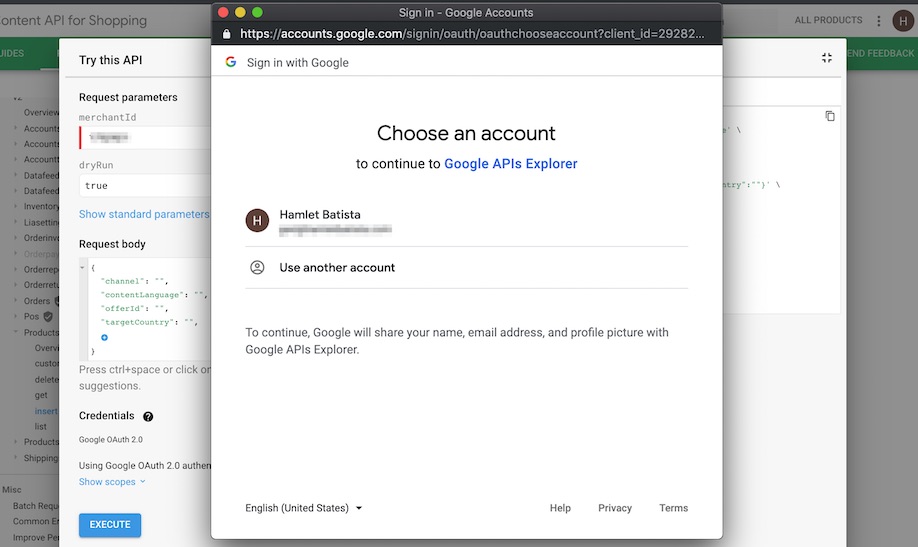
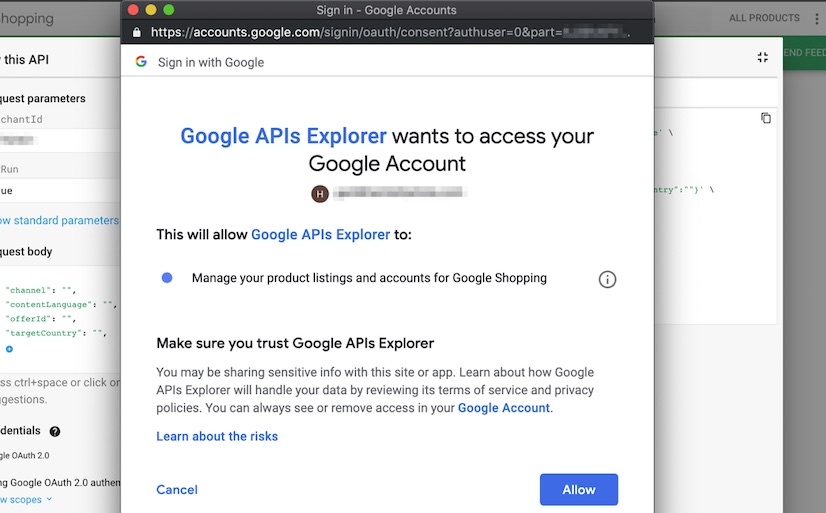
After clicking the submit button, authorize APIs Explorer to access to your Merchant Center account.
Allow this, and the API call will run. Hopefully, you will see green colors and a JSON output with the results.
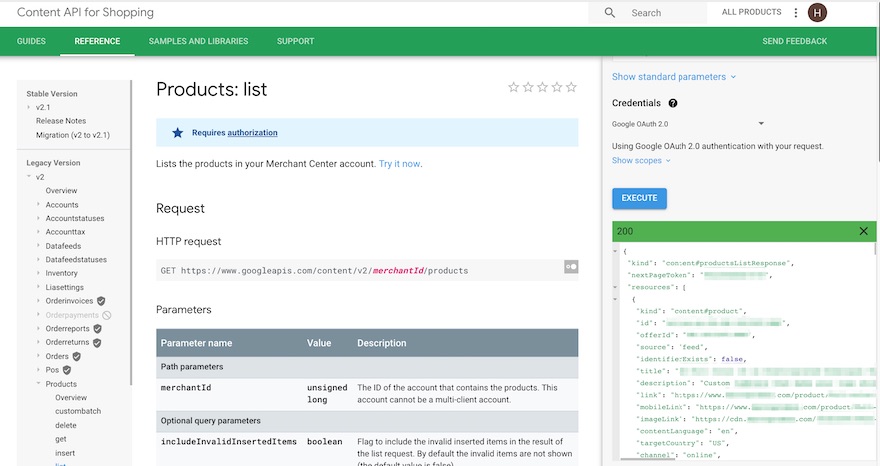
After allowing access, the API call should run, showing green colors and a JSON output with the results. Click image to enlarge.
Listing products is optional — if you know the IDs of the products you want to change. For this example, I will update only one, but there’s a link at the end of this post to perform batch updates. (Note that Google might not update the index quickly with a small number of changes.)
With my Product ID, I can prepare the next API call to get the product information from a JSON file. That is the “get API” call.
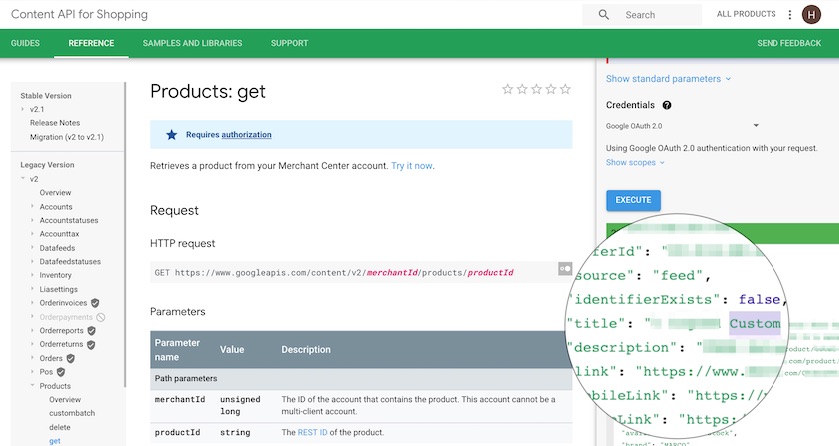
Prepare a “get API” call to obtain the product information from a JSON file. Click image to enlarge.
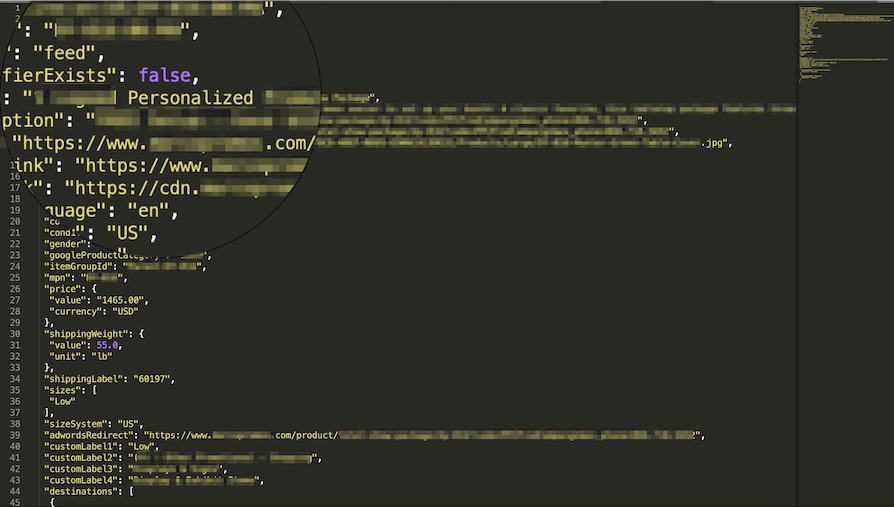
A “get API” call is similar to listing products, but in addition to the Merchant ID, I also need the Product ID. After executing the call, the details of the product are in JSON. I saved the output to a file.
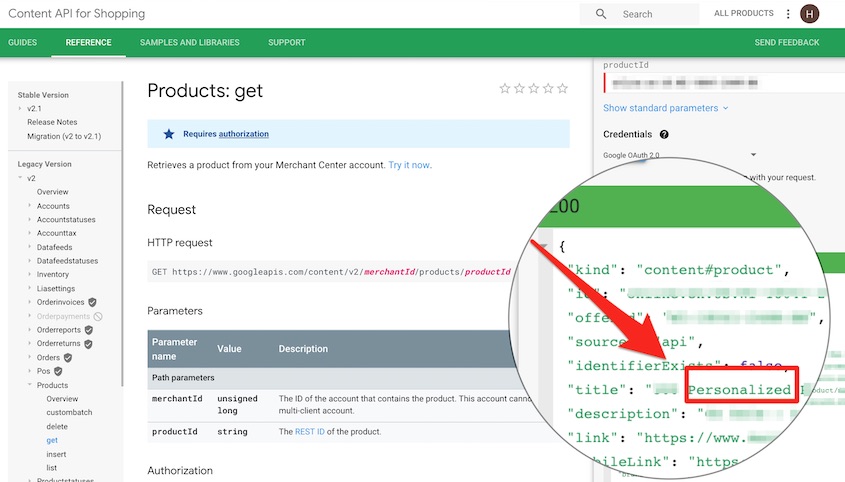
Now that I pulled the data for the specific product, I can update the file with my changes. In this example, I will simply change the title from “Custom” to “Personalized.” I will save the file locally, and then use another API — the “insert API” — to update the product.
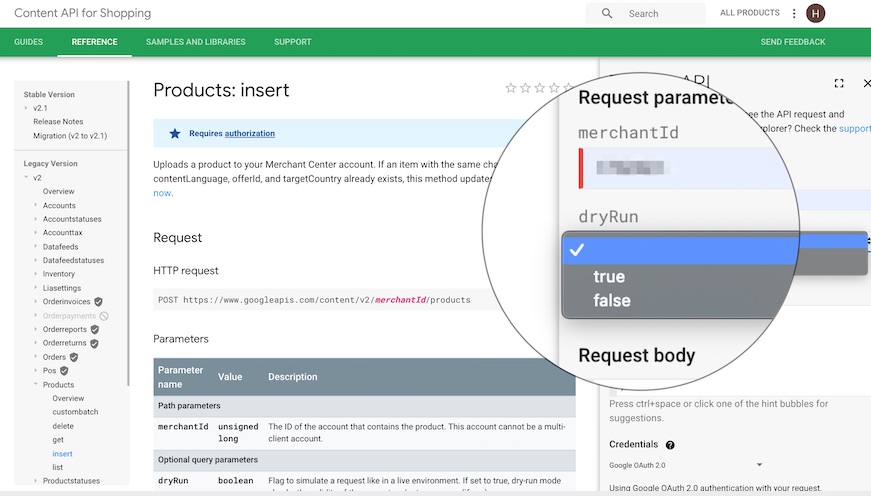
It’s a good idea to perform a “dry run” first to make sure the JSON file updates correctly.
Next, after I submit the API request with dryRun set to “false,” the changes should be successful.
Finally, I want to verify the changes are live. First, I rerun the “get API” to fetch the product. I can then confirm that the updated title of “Personalized” is there.
After updating the file, I went to Google Search Console to see if Google re-crawled the page. You can use the “URL inspection” tool for this.
Unfortunately, Googlebot has not re-crawled the page — even a day after the test. Again, it likely requires a larger batch of changes to trigger new crawls. Also, the search results, as expected, had no changes since the page has not been crawled.
Automating with Python
Updating products manually takes a lot of work. I could streamline the process with a script, which I could then run whenever we need to make changes.
To produce the script, I’ll replicate the steps above into code snippets in a Google Colab notebook.
Step 1. Authenticating the scripts with your Merchant Account.
Refer to the Colab notebook for the detailed steps required to prepare the credential files used by the script to connect with Google Merchant Center. Here is the authentication code: https://gist.github.com/hamletbatista/1b4cff78452d4181d19696ab4ddd9d1e.
Step 2. Get the list of products from the API into a dictionary:
https://gist.github.com/hamletbatista/96ab561758668a696b67939e221e8653.
Step 3. This code first takes any Product ID and obtains the current values in Google Shopping. It then returns the parsed JSON as a Python dictionary. Next, it replaces the title and submits it to the service.
https://gist.github.com/hamletbatista/186b2efa4bd0c5a0ff72c58de3c81406
Step 4. After completing Steps 1, 2, and 3, assemble a list of Product IDs with the changes, and run them in bulk. Refer to this example for details.
Resources
Here are links to resources I used for this post.
