


December 6, 2018, is the day we shall remember for the birth of WordPress 5.0 and its new block editor. While we love the new editor, we’re advising people to hold off updating to WordPress 5.0 until early next year when the release will be much more stable. Not to mention, the busy holidays will have come and gone. This should leave you ample time to thoroughly test the new release and come to grips with the inner workings of the new block editor. Here, we’ll explain how you can easily set up a local testing environment to safely test WordPress 5.0.
Step 0: Always back up your stuff!
We can’t say this enough: always, always, always back up your site! Set up automatic backups using plugins like UpdraftPlus, Blogvault, BackWPup or online tools like ManageWP. Most WordPress-friendly web hosting companies like WPEngine have tools to make and manage backups as well. So, options aplenty — use them!
Step 1: Set up a local server
To test WordPress and its new block editor Gutenberg locally, you need to install a local server. In the old days, you had to download and configure all pieces of this puzzle by hand, making it a tough job for the average site owner. Today, you can install a fine-tuned local server in a matter of minutes and with a minimum amount of clicks. During the installation, you’ll even set up a WordPress site so you can get going quickly.
There are several local server tools aimed at the WordPress user, but we find ServerPress and Local by FlyWheel to be the best and easiest to work with. In this article, we’ll focus on Local by FlyWheel as that has the nicest all-in-one interface, handy SSL support and a unique way to share your local site online.
Download Local by Flywheel
Go to the Local by Flywheel site and click that big green Free Download button. Choose your operating system, fill in the fields and hit the Get it now button. The package will now download to your computer. Double click on the installer package to install Local by Flywheel on your computer.
Set up your local WordPress site with Local by Flywheel
After Local by Flywheel is installed on your system, doubleclick it to run the app. You’ll notice it’ll take a while to start all services. After it’s done, you’ll be greeted by a screen with a big green button to create a new site, click that button.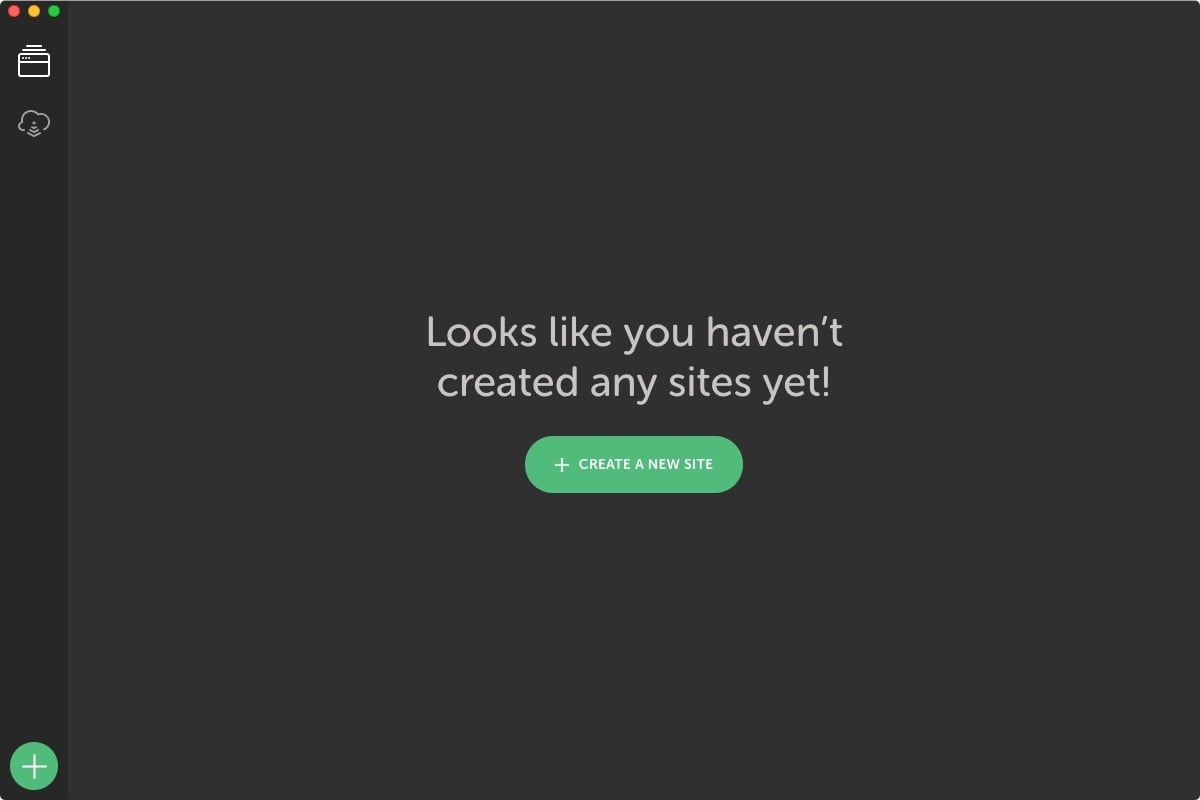
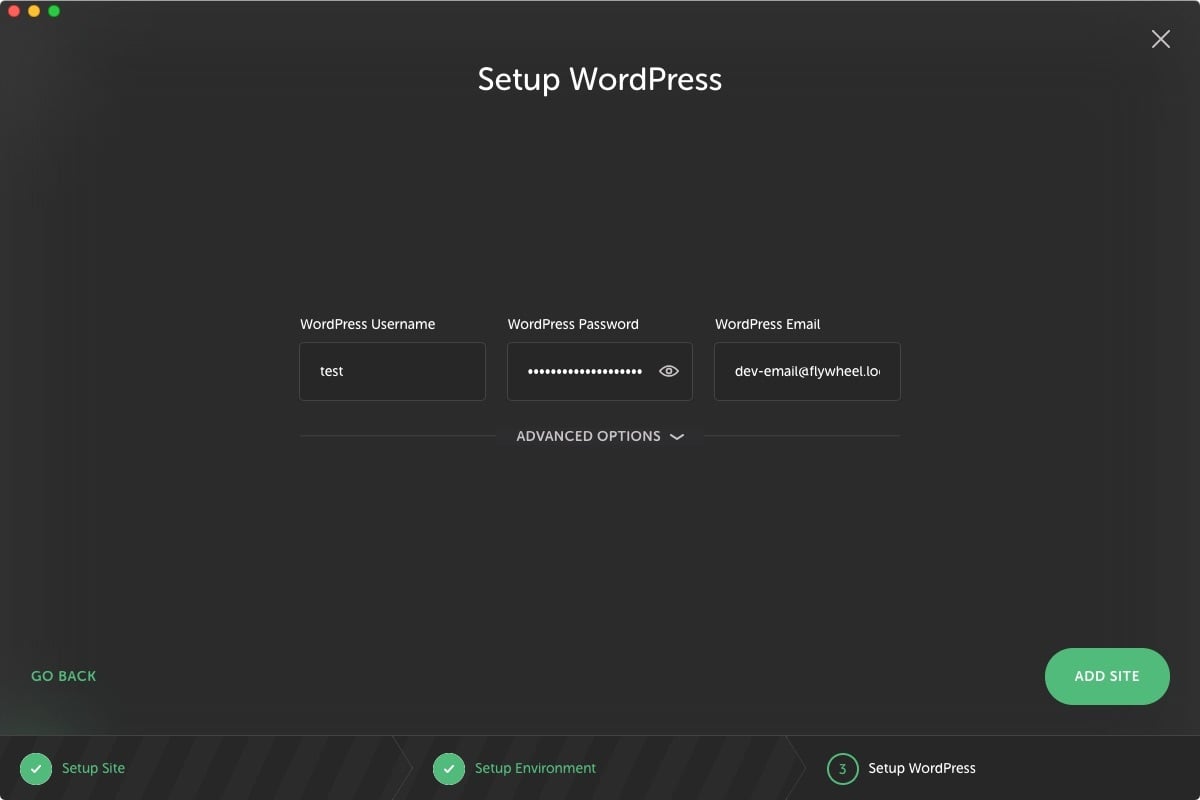

Set up your local WordPress site
Log in to your new local site with your credentials. At the moment, this is a totally empty, brand-spanking-new WordPress website. It looks nothing like your site and that’s not what you want, right? So, you’ll have to do something about that. You’ll have to get your files, posts, plugins, settings and themes — everything. To do that, you need a full backup of your site. In this case, you’ll use the Duplicator plugin to make an exact copy of your site to your local server. Log into your real site, install the Duplicator plugin from the Plugins directory and follow the instructions.
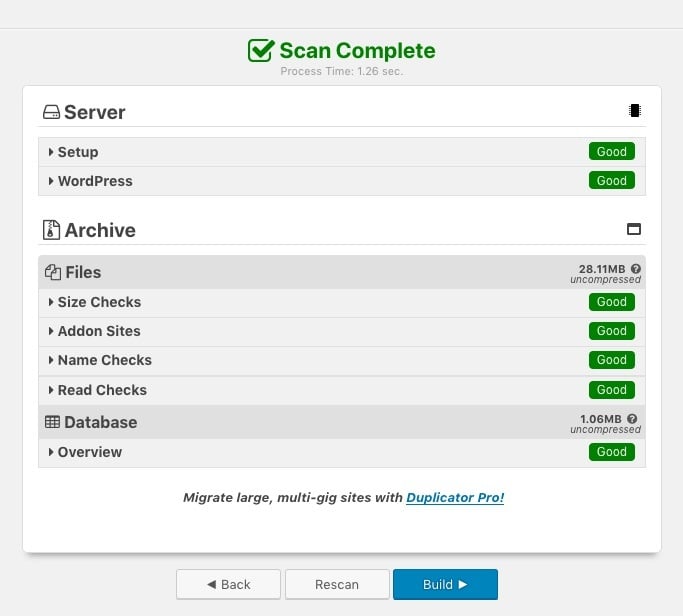
Step 2: Making a Duplicator backup
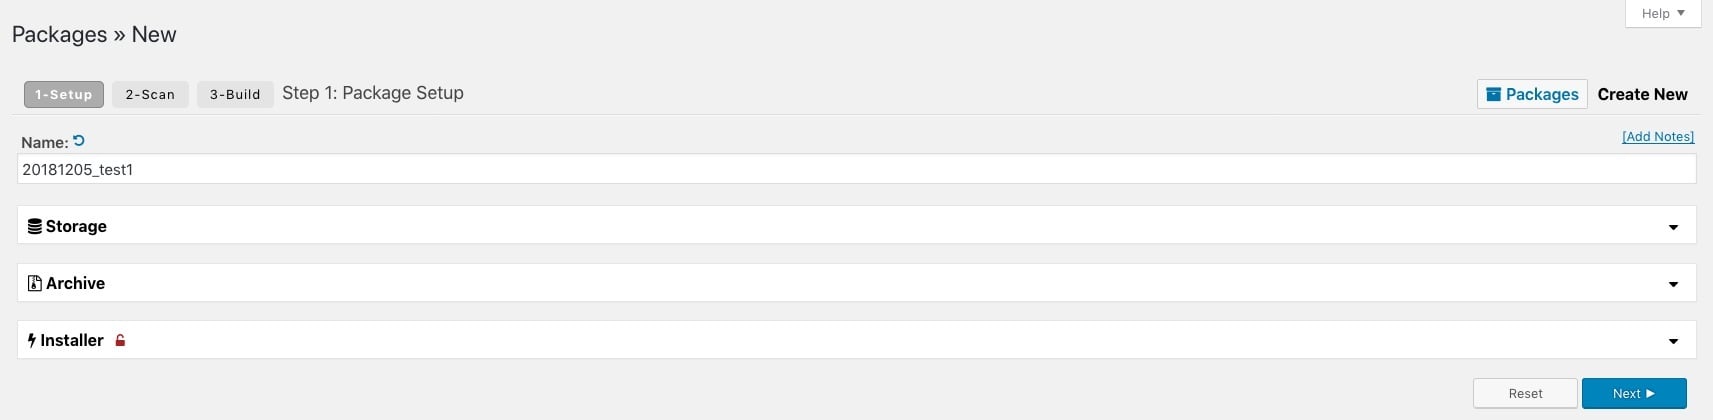
After installing Duplicator, you can make a new so-called package. A package is a complete collection of every part of your site. You can move this package easily to another server, or a local site like you’re doing here. Duplicator can do a lot of other stuff and we’d encourage you to read up on that.


Move the package to your local site
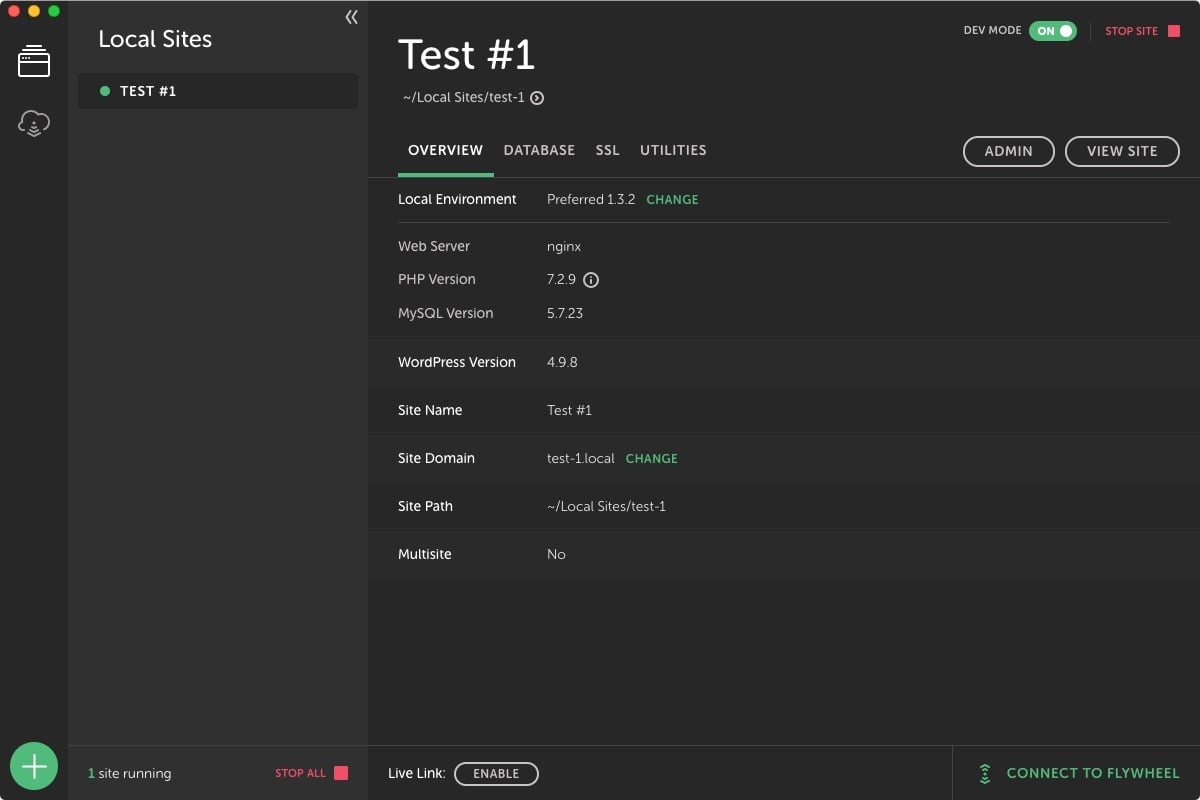
Open the Local by Flywheel interface and click on the little arrow next to the site path, this will open the local files for your local sites. Place the two package files in a new folder in the root of the public folder of your local site.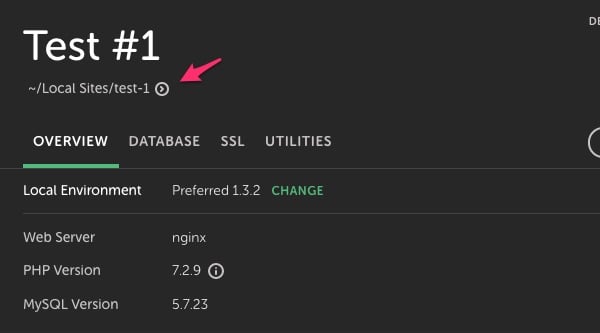
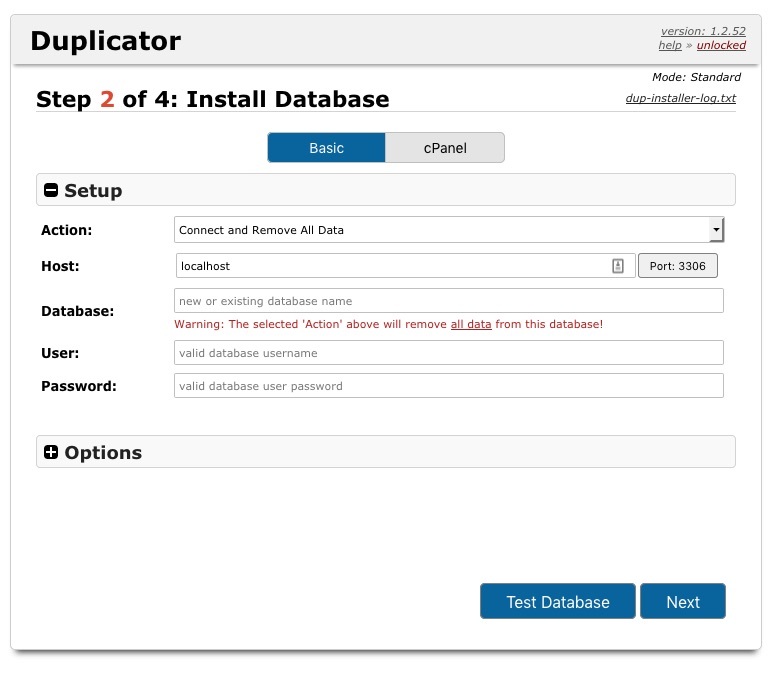
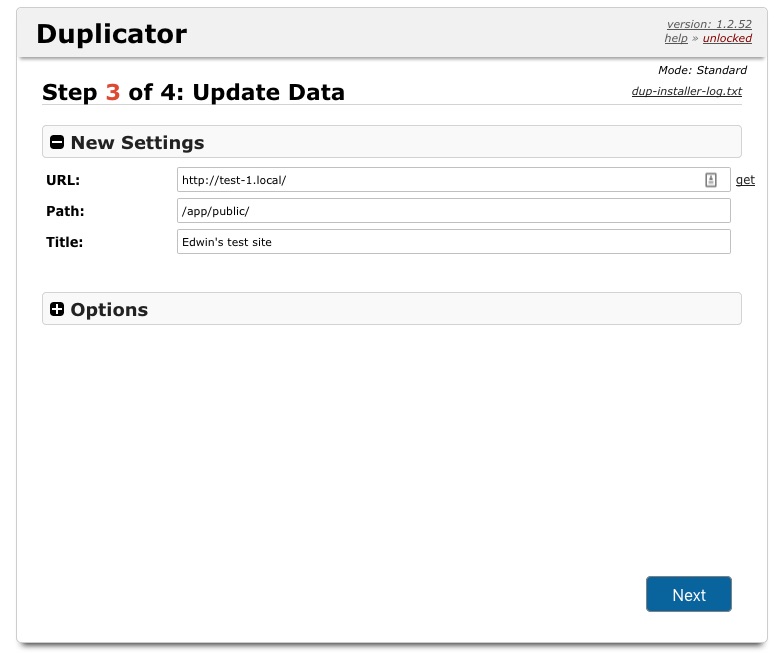
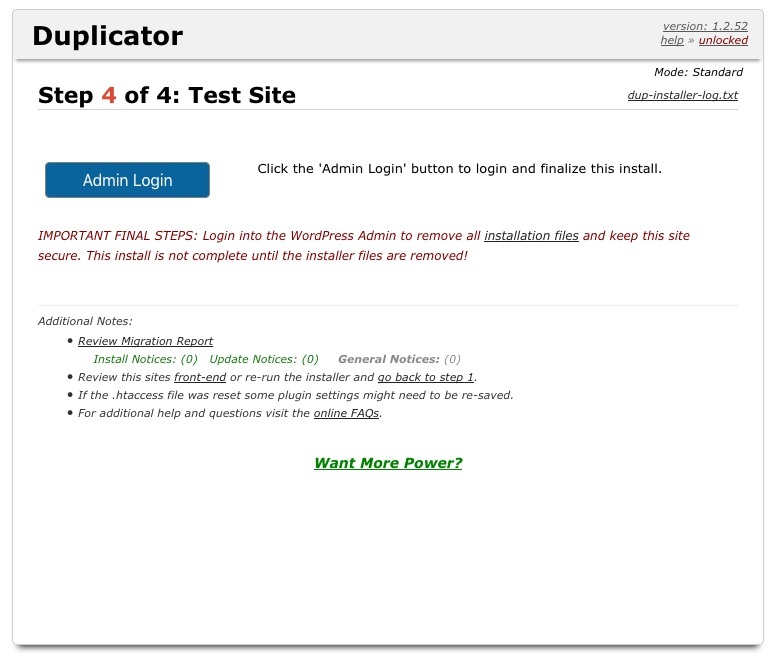
test-1.local/test/installer.php, or whatever the name of your test site is. This opens the Duplicator box to restore the package. For most sites, the default settings will be sufficient. Don’t be afraid to check these out.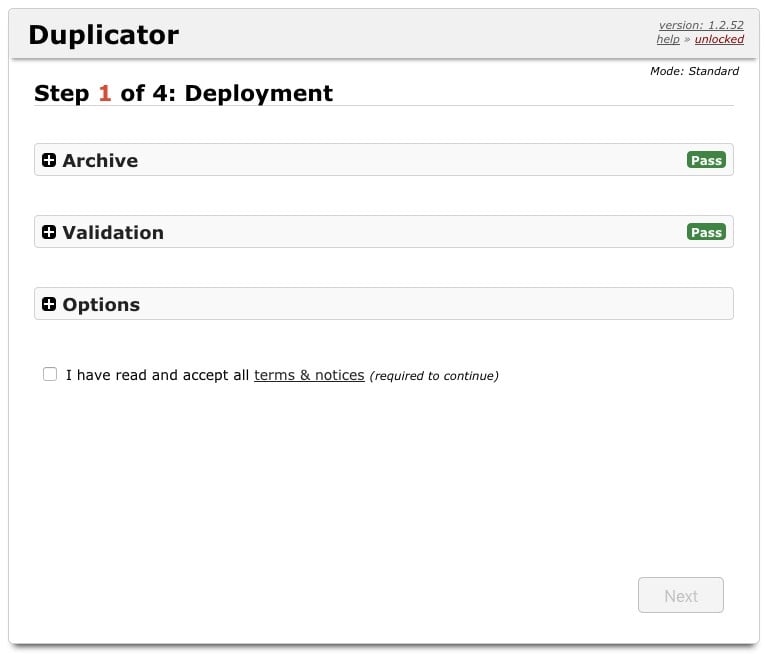


Step 3: Set up WordPress Beta Tester
Once you’ve verified your old site is working great, it’s time to update WordPress to the latest version. Since WordPress 5.0 is now out, you can update your test environement via the regular update process. Alternatively, there’s a great plugin that can help you test upcoming releases. The WordPress Beta Tester plugin makes it incredibly easy to test the very latest development versions of WordPress, even if they are so-called bleeding edge nightlies.
Find WordPress Beta Tester in the plugin repository, install it and activate the plugin. To test get the latest version of WordPress 5.0, you need to go to Tools > Beta Testing and pick the Point release nightlies. After that, go to Dashboard > Updates and you’ll see that there’s an update available. Hit that blue Upgrade Now button to get started. Eventually, you’ll see that Welcome to WordPress 5.0 screen. That’s all! The WordPress Beta Tester will keep your test site updated to the latest WordPress version.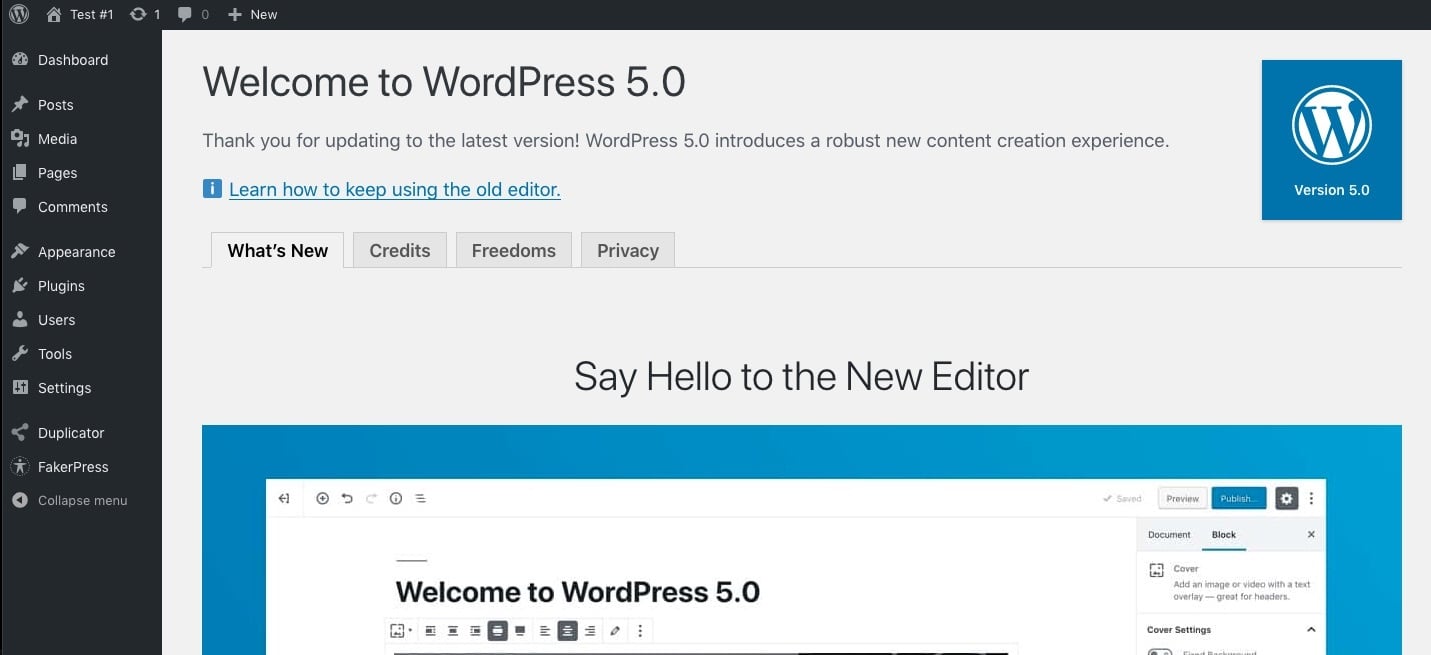

Step 4: Install the Classic Editor plugin
WordPress 5.0 is now active on your test site and you are welcome to explore it. There’s one thing we need to do, though — install the Classic Editor plugin. With this plug installed everything will become like it was before the release of WordPress 5.0 and you can continue to use the old editor instead of the block editor. At the moment, we’re advising people not to upgrade until WordPress 5.0 is a bit more stable, come January. Even then, we’d like people to install the Classic Editor plugin to minimize the risk of things breaking down. The Classic Editor plugin is available until December 31, 2021.
Of course, you can try this out on your test site as well. Find the Classic Editor plugin in the repository, install and activate it. Go to Settings > Writing and pick one of the two options: replace the new editor with the Classic Editor completely, or use the new editor by default and make the Classic Editor a fallback option.

Step 5: For extra insights install Health Check
In need of more insights into the inner workings of your WordPress install? If so, the Health Check plugin might give you what you need. It offers a great overview of everything that is going on on your site and it even has a Troubleshooting Mode that helps you find and fix issues. You can find the Health Check plugin in the WordPress plugin repository.
Step 6: Test all the things!
Now that you’ve set up a complete local copy of your real site, it is time to get testing! Click through your posts and pages, check your theme, find out if all your plugins are compatible, test your meta boxes, shortcodes etcetera, etcetera. Users of page builder plugins should take extra care to check that these plugins are fully compatible with WordPress 5.0 and the new editor.
In addition, the most important thing for you to do is to get acquainted with the new block editor. How does it interact with your content? Are there ways to improve your content with the new possibilities the new editor offers? Maybe there are blocks that help you build your content? Or you might just get a brilliant idea for a totally new block. Everything is possible. Now, go forth and test!
Bonus step 1: Set up a staging environment
A local installation of your site will only get you so far. While you can test how your site looks and works in a local environment, there’s no way to test using a real-world set-up. For this, you need a staging environment. A staging environment is a restricted copy of your site on your server that you can use to test and develop your site. Depending on the setup, you can push changes you make on your staging environment to your live site. Many WordPress-friendly web hosters like Kinsta and Siteground offer an easy way to set up and manage a staging environment.
Bonus step 2: An alternative with WP-Staging
In addition to setting up a staging environment at a hosting company, or using Duplicator to fix this for you, there’s another option: the WP-Staging plugin. This plugin helps you set up a staging environment right from the WordPress backend.
Happy testing!
In this article, you have seen how easy it is to get a local version of your site up and running. If you’ve followed along, you can now go out into the wild and start testing every inch of your site to get ready for WordPress 5.0 and the new block editor. Don’t forget, you should test every major version of WordPress, not just this one. If you want to make testing an even more integral part of your set up, you can choose to set up a staging environment on your server.