You know the stats by now.
It costs 5-25x more to acquire a new customer than keep a current customer.
Increasing customer retention rates by 5% increases profits by 25% to 95%.
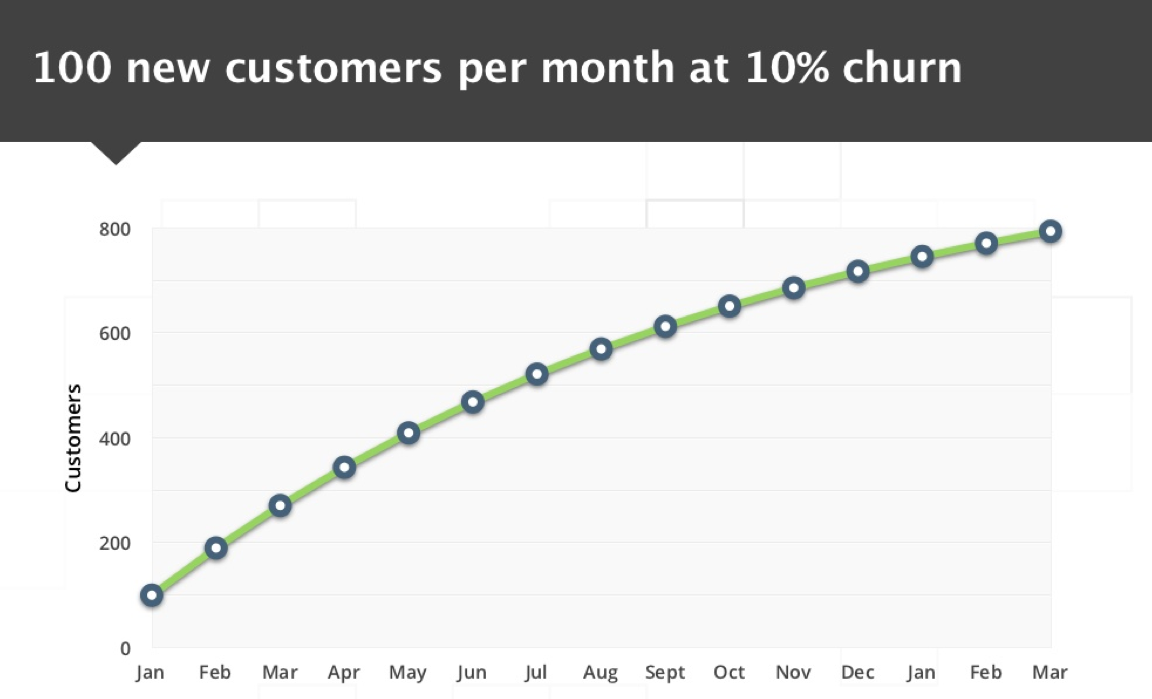
And increasing churn will eventually plateau any new customer growth.
Sure, there are some basic things you can do that may help alleviate churn.
But to create customers for life, you’ll need to keep them engaged with your product. They’ll need to be logging in, using features, and consistently getting the value they are paying for. If they’re not getting this, churn will happen.
In order to reduce churn, it’s important to keep an eye on your user base and which ones are using your product the least often. From there, you can make efforts to re-engage them. Fortunately, Kissmetrics’ Customer Engagement Platform can help.
Let’s see how this platform helps you keep an eye on at-risk customers and sends behavior-based messages to mitigate customer churn.
1. Know the Red Flags That Precede Churn
The first to mitigating churn is knowing the typical behaviors that happen before a customer churns. When you know these precursors, you can set up tracking to identify when it happens and re-engage these at-risk customers before they give you the axe.
Kissmetrics Populations tracks key groups of people across your buyer cycle. For this post, we’ll set criteria for a Population that identifies at-risk customers.
For most SaaS companies, an early sign of an at-risk customer are logins slowly dropping of. The less they login, by definition, means they’re using your product less. They may also not be using features, or are contacting your support team more often than usual.
We’ll create a Population that finds current customers who have not used any feature in the last 60 days.
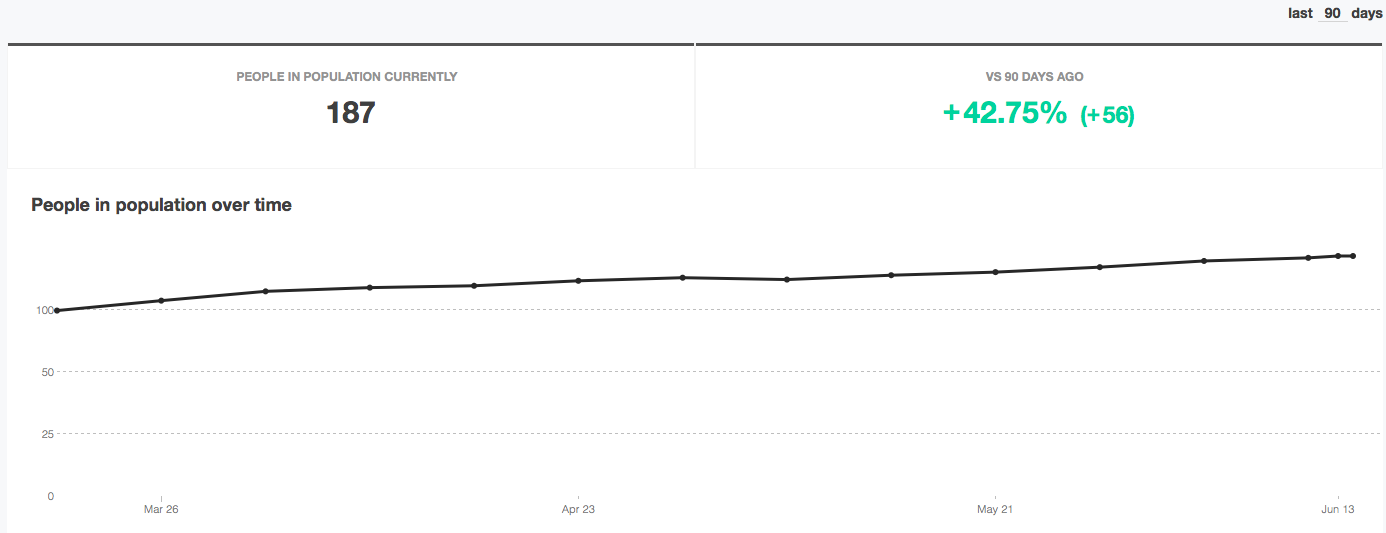
Here’s our Population:
This is a clear warning sign. More of our customers are at-risk than 90 days ago. We’ll need to take action with Campaigns.
Here’s how.
2. Create a Campaign
Kissmetrics Campaigns is a behavior-based messaging system. With Campaigns, our customers send targeted messages to users that need some “nudge”. In our example, that nudge is getting users to login and start using some features again.
Since it’s unlikely that we’ll get 100% of people to use a feature after we send our message, we’ll create a couple messages that go out to users who don’t convert after the first message.
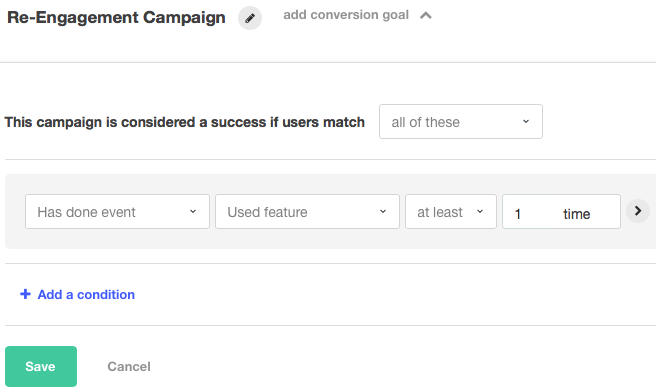
But before we create any message, we’ll need to set our success criteria:
A part of Campaigns is setting the success criteria. Setting the criteria lets us know how successful our Campaign was. For this Campaign, we’ll set the criteria to “Used Feature”. We’ll set this event to fire anytime they use any feature.
Once they use a feature, we’ll call this campaign a success.
Now, let’s create our first message!
1. Creating Our First Message
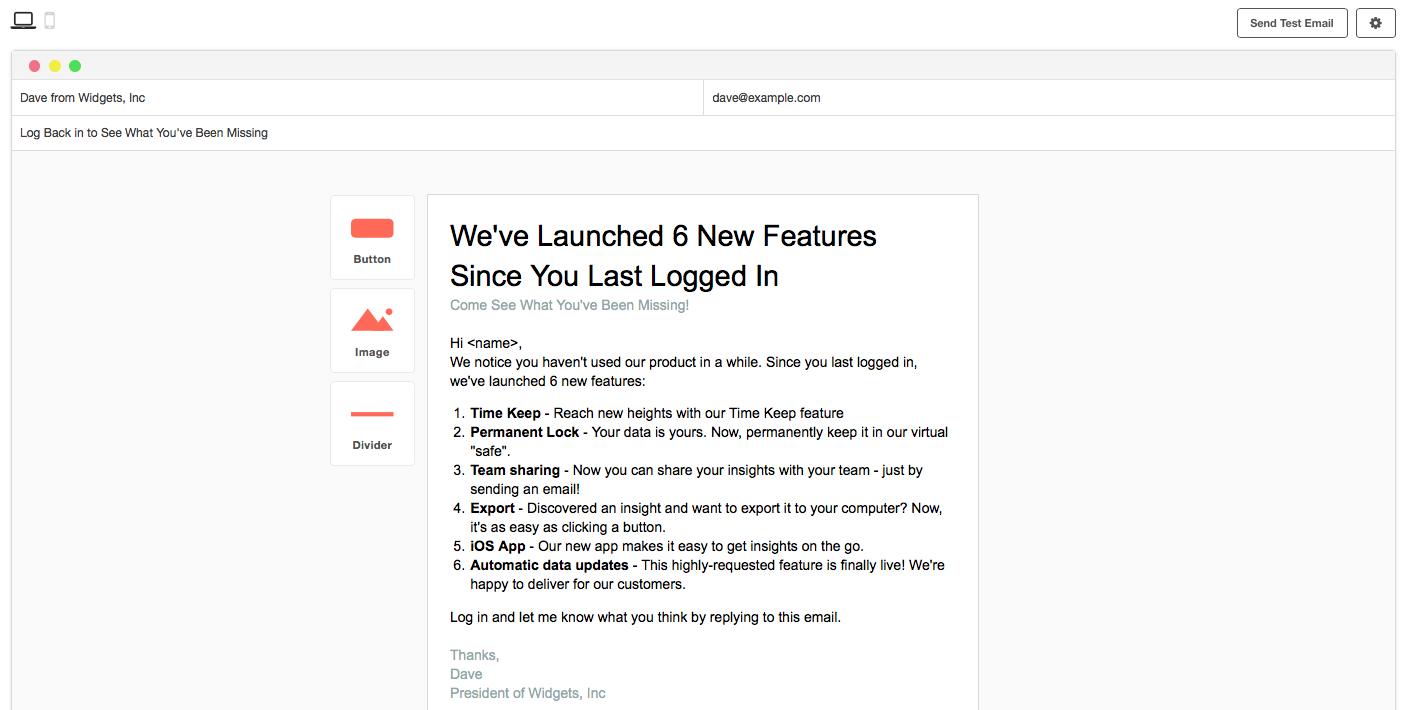
We’ll create our Campaign and write our email message:
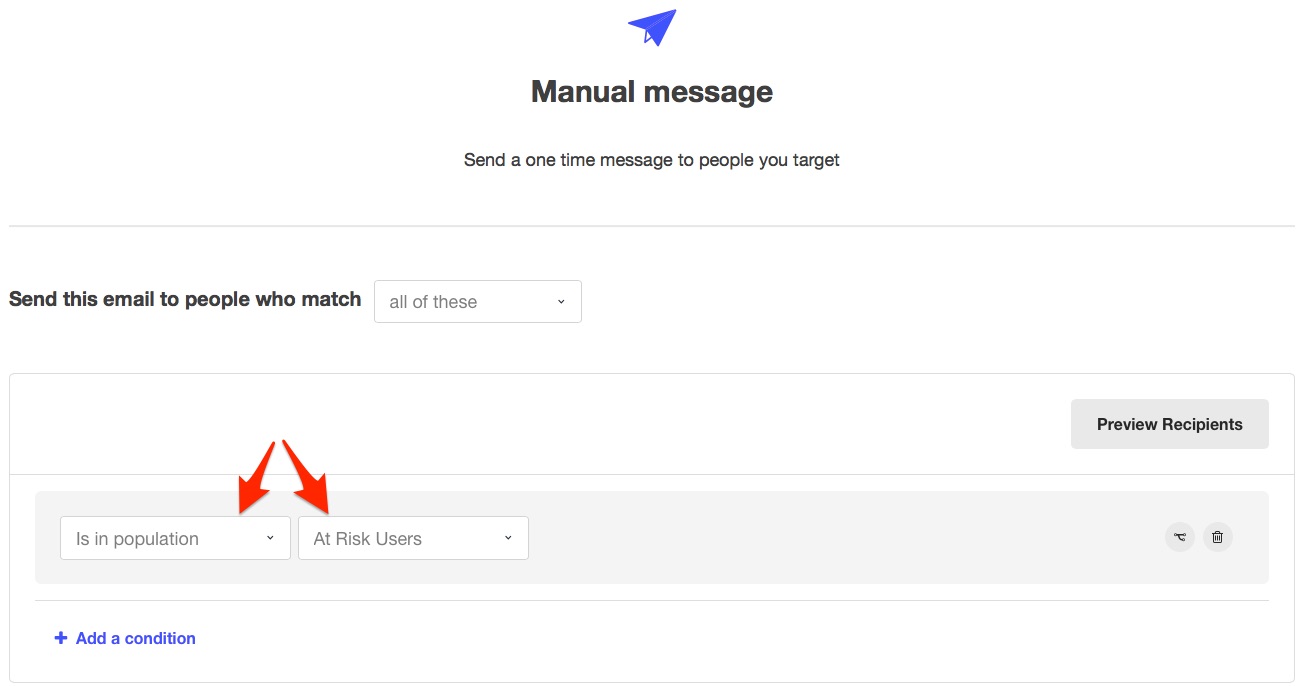
We’ll now set our Delivery to match the criteria in our At-risk Population:
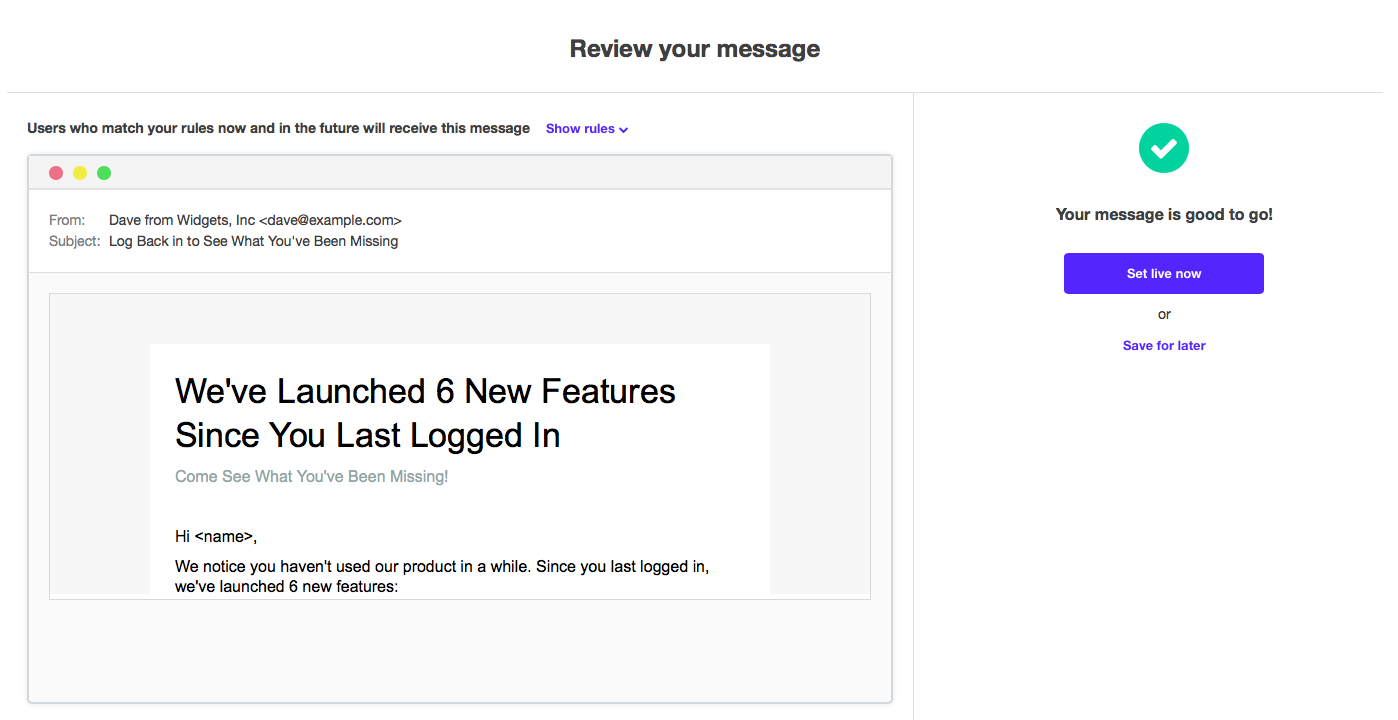
And we’ll send our message.
We’ll now create a follow up email for those that haven’t converted after reading our first message.
2. Creating Message #2 For Those That Haven’t Converted
Not all people will convert after you send your first message. Some may not open the email, others may open it but not click-through, and a remaining few may open the email but still not use a feature. Some people require a few messages to get them to engage.
We’ll create another message for those that haven’t converted after a week of receiving the first message.
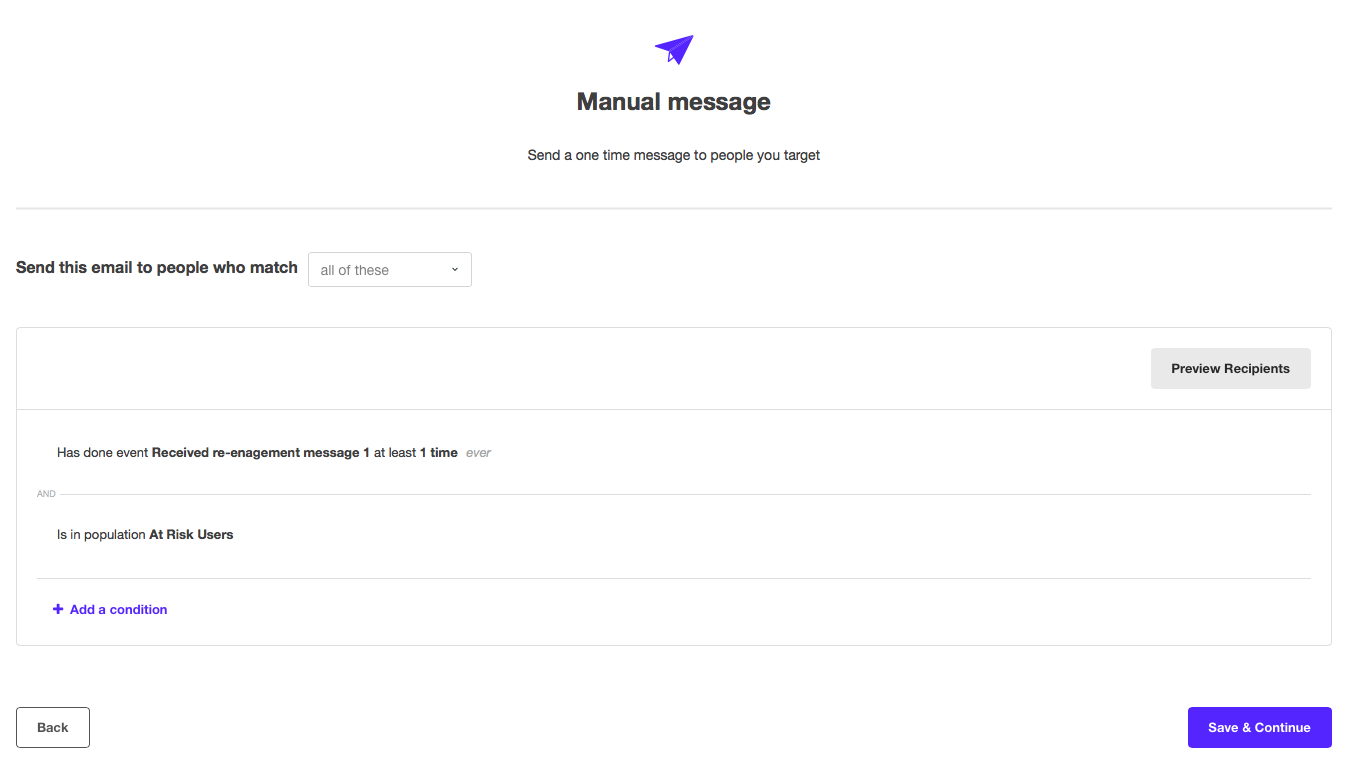
And this is a manual message that is sent to people in our At-Risk Population who have received our first message.
And we’ll set our manual message to those that received message 1 and are in Population At-Risk users.
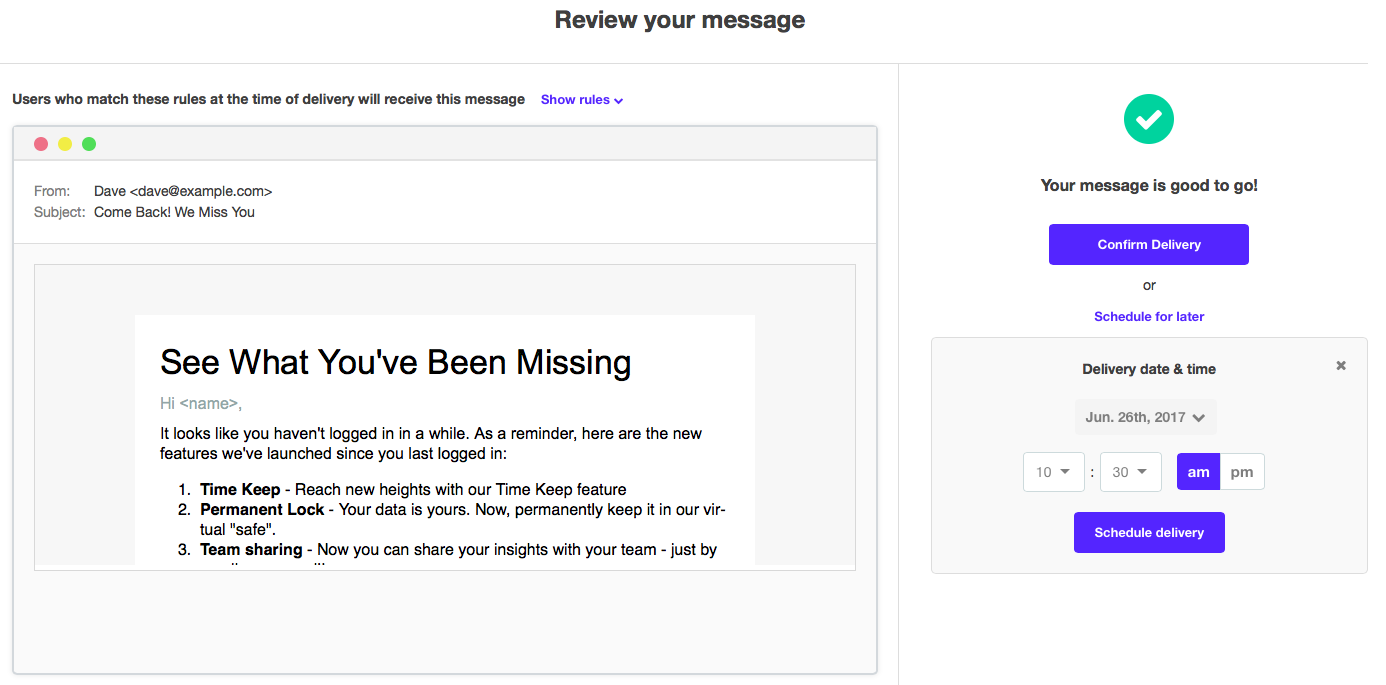
And we’ll schedule the message to send 7 days after our first message was sent:
If you’re looking for some tips on when to send an email, MailChimp’s VP of Product Management has written a great article that can help you out.
Now, we’ll create a final message for people that are still in our At-Risk Population and has received our first two messages.
3. Creating Our Final Message For The Users That Still Haven’t Converted
By now there have undoubtedly been some customers that have logged in and used a feature. But for the remaining few, we’ll create a final message that will go out 7 days after our previous message.
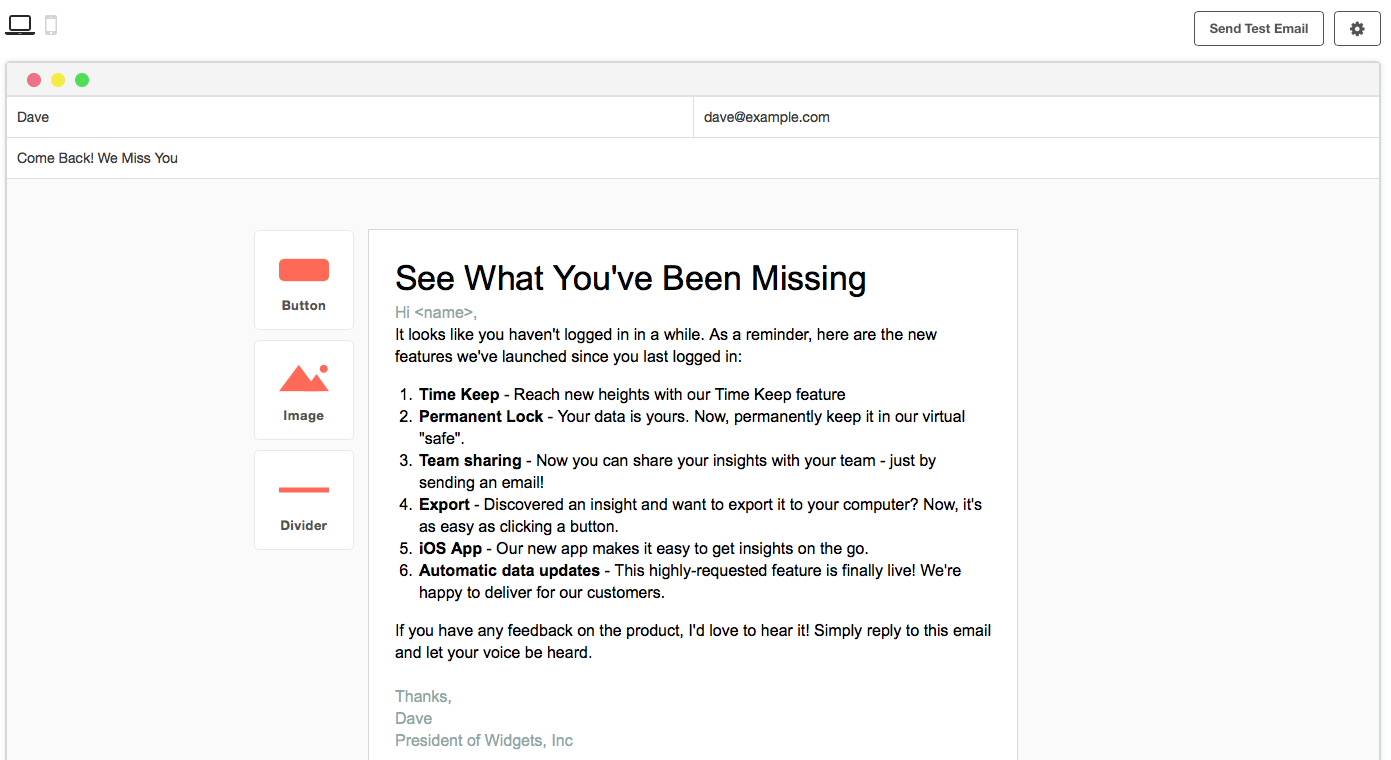
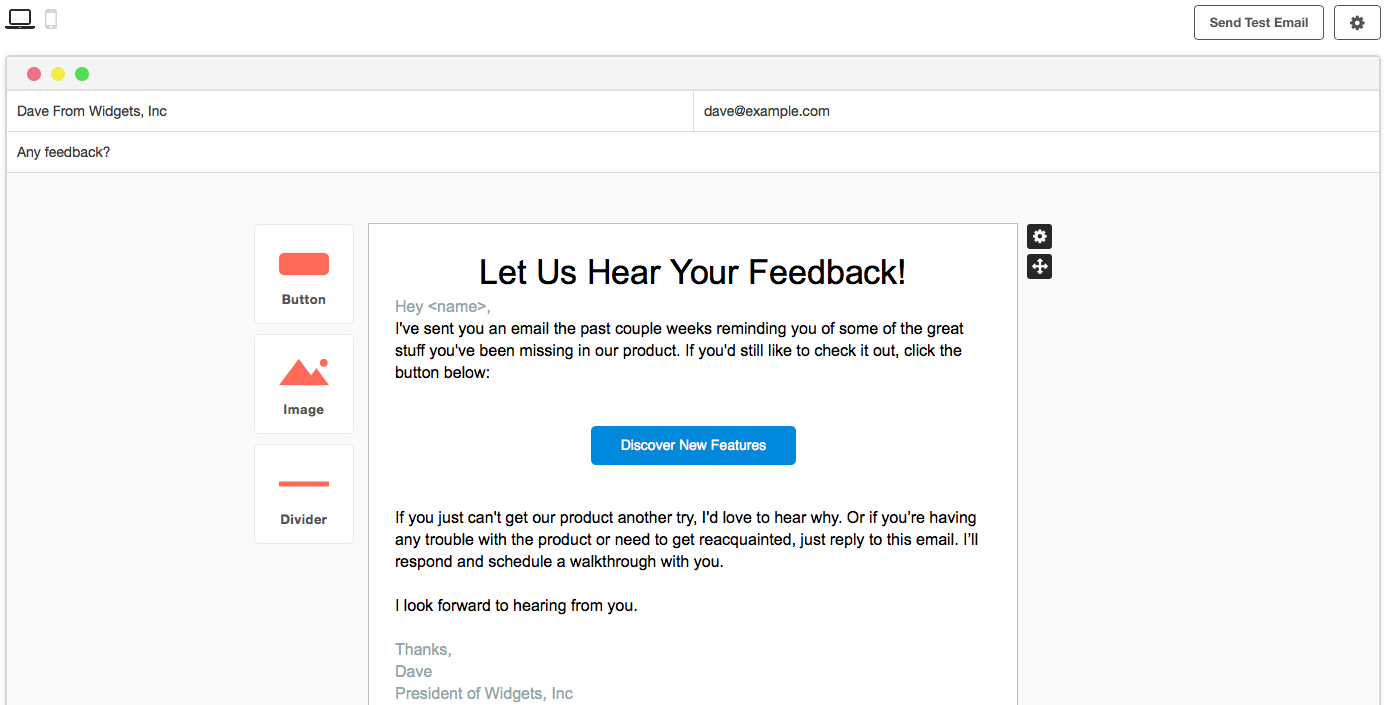
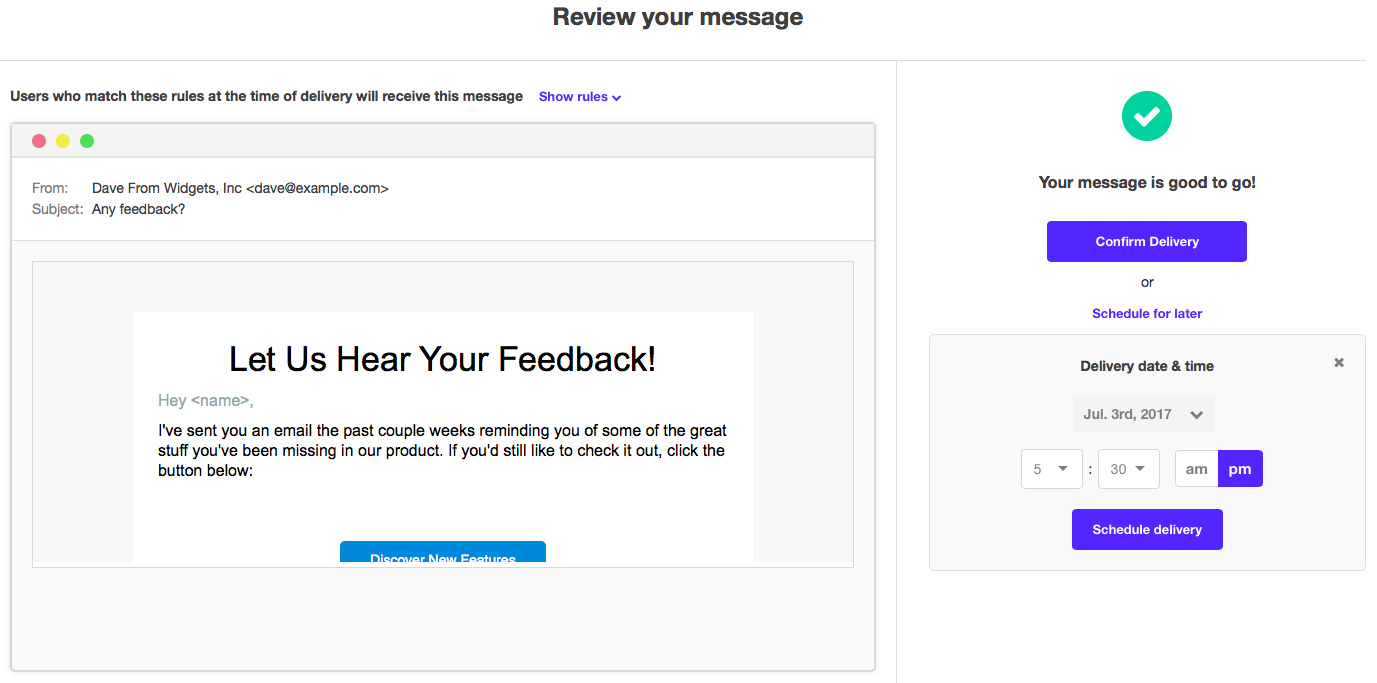
In this message, we won’t tell users what they’ve been missing. Instead, we’ll gently remind them of our product and ask them for any feedback. The goal here is still to get them to use a feature, but they won’t do that, at least engage with us by replying to the email.
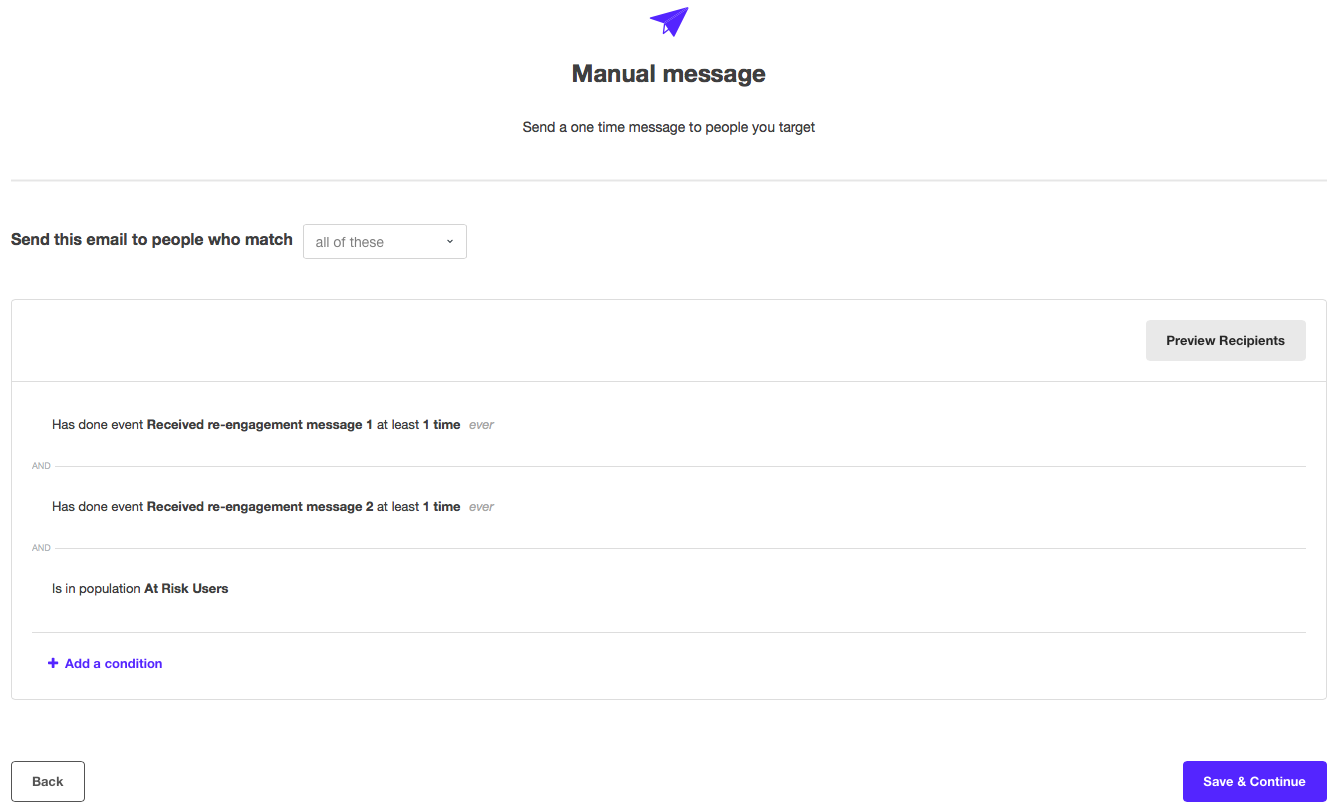
And this message will be sent to the people who are in our At Risk Population and have received our two previous messages:
And we’ll schedule our message to be sent 7 days after our first message.
Campaigns will automatically track the results of the Campaign and each message. We’ll know which messages were most successful, and how the Campaign as a whole performed.
We can also send out automated emails that go out to people once they are in our “At Risk Users” Population.
Resources for Creating Great Emails
Your success with Campaigns largely hinges on your ability to create a great email.
We’ve written in the past about creating emails that stand out and get results. Here are some of my favorites:
Want to See More of Campaigns?
Click Play below to watch our Campaigns explainer video:
Or request a demo to see how Campaigns can help your company.
About the Author: Zach Bulygo (Twitter) is the Blog Manager for Kissmetrics.
