Digital marketing is always evolving. So there are often shiny, new tools out there like text-message marketing, social media retargeting and live video apps. But amidst these newer channels, email marketing continues to be a relationship-building, time-saving, profit-maximizing, product-selling machine!
To be successful in email marketing, you need something to write (we’ve got a free course for that,) someone to write it to (we’ve got a BRAND NEW free course for that!,) and an easy way to craft your message and send it. This is where AWeber’s email editor and templates come in.
In this post, we’ll look at a few lesser-known features of AWeber’s Drag & Drop Email Builder that’ll help you save time while creating remarkable emails for your audience.
Start with a template
If you’re not well-versed in HTML and coding for email, select one of our many responsive email templates. We’ve recently been developing modern and attractive templates that are customizable to match your brand.
These new templates are also doing some fairly progressive technical things, which we’ve covered in an earlier blog post.
Here are a few of our new favorites and when you might consider using them:
Flat White
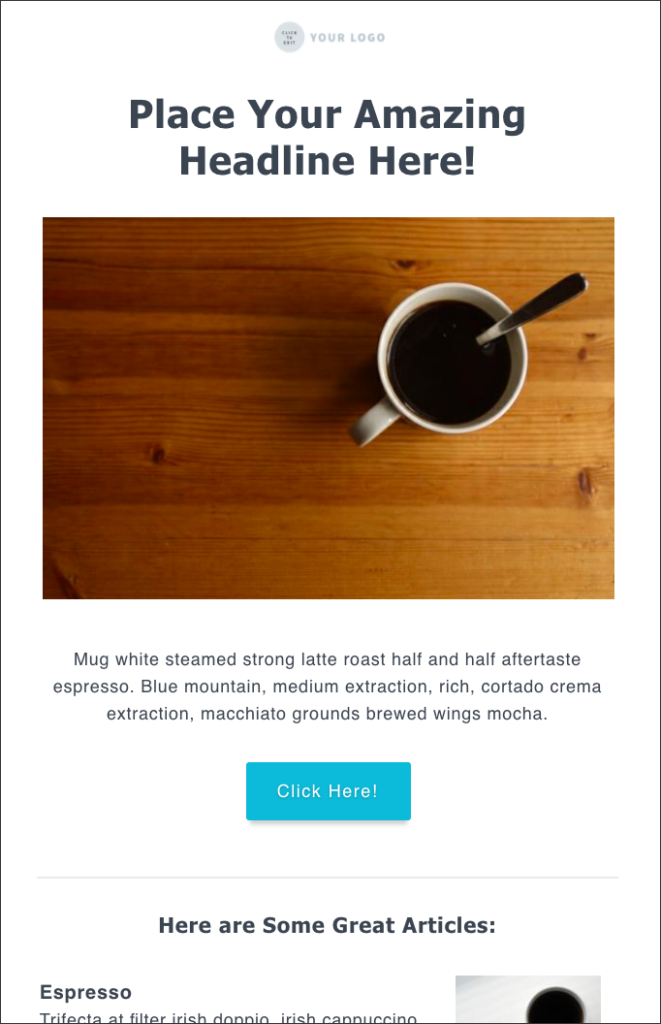
What our designers say about this template: “This template is great for showcasing articles, events, products, and more. It’s clean, flexible, and beautifully structured. The layout of this template is wonderful for showcasing photography, illustrations, GIFs and more – in a way that is not overwhelming to the viewer. Buttons and calls to action are also not lost to the viewer in this template and really stand out.”
Tidal
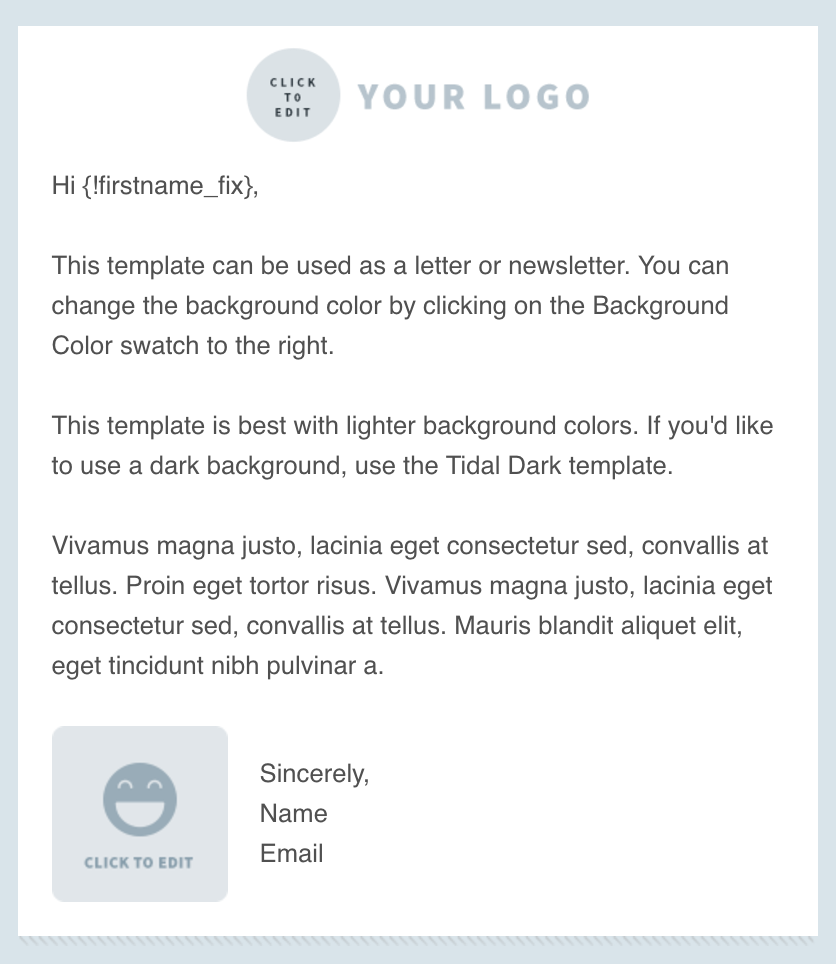
What our designers say about this template: “This template is great for new customers. It’s super simple, and doesn’t require a ton of effort. It can be customized with a logo, background color and a little bit of content in just a few minutes. I think the styling is simple enough that it’s really flexible for different industries and tones; depending on the logo and the background color that is used, it should be able to fit a lot of different needs.”
Clone your emails
When you’ve landed on a template that works for you, your brand and your audience, one of the easiest ways to create a new message is to copy a previously sent message and simply edit its content.
Copying a previously sent email can be done with the click of a button:
- From your list of sent Broadcasts, simply select Copy to Drafts.

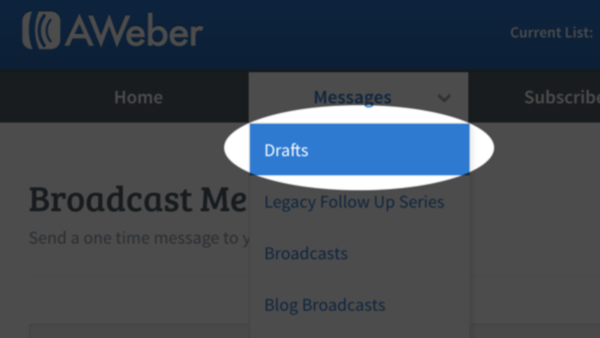
- Your draft will appear in your list of drafts, accessible from the Messages navigation menu.

AWeber pro-tip: You can also copy drafts and messages to different lists. This can be incredibly useful if your different email lists share the same branding. Simply select the Copy to Lists dropdown menu and choose the list you’d like to copy the message to.
Use keyboard shortcuts
There are a few keyboard shortcuts you can use to speed up the message creation process. In fact, if you press “Alt-0” while in the Drag & Drop Email Builder, you will see a list of accessibility instructions and keyboard shortcuts.
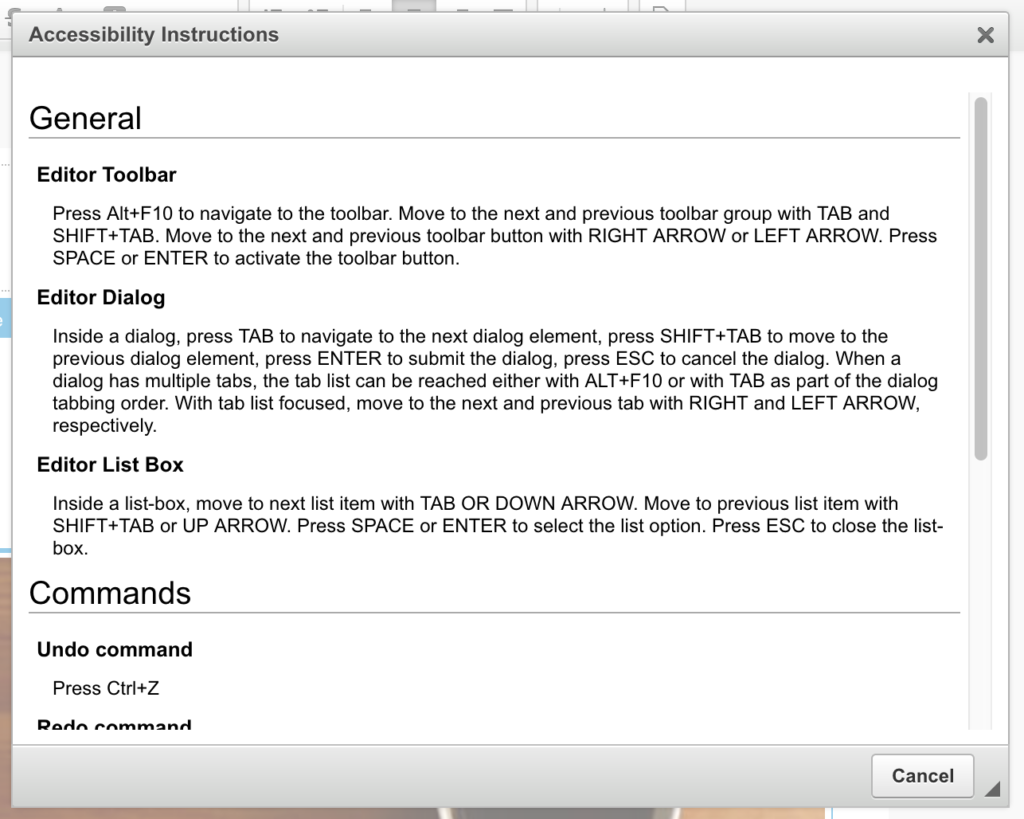
Here are a few shortcuts that you might consider using:
Undo command – Press Ctrl+Z
Redo command – Press Shift+Ctrl+Z
Bold command – Press Ctrl+B
Italic command – Press Ctrl+I
Underline command – Press Ctrl+U
Link command – Press Ctrl+K
Move, copy and delete rows
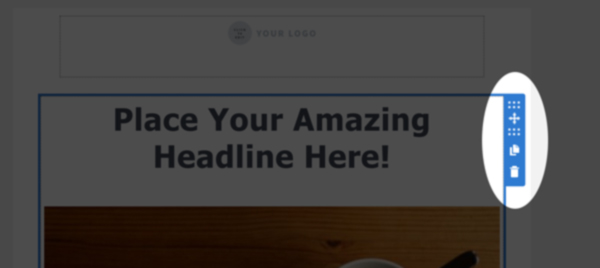
When you hover over an element in the editor, you’ll notice you can easily move it to a new location, copy it or delete it.
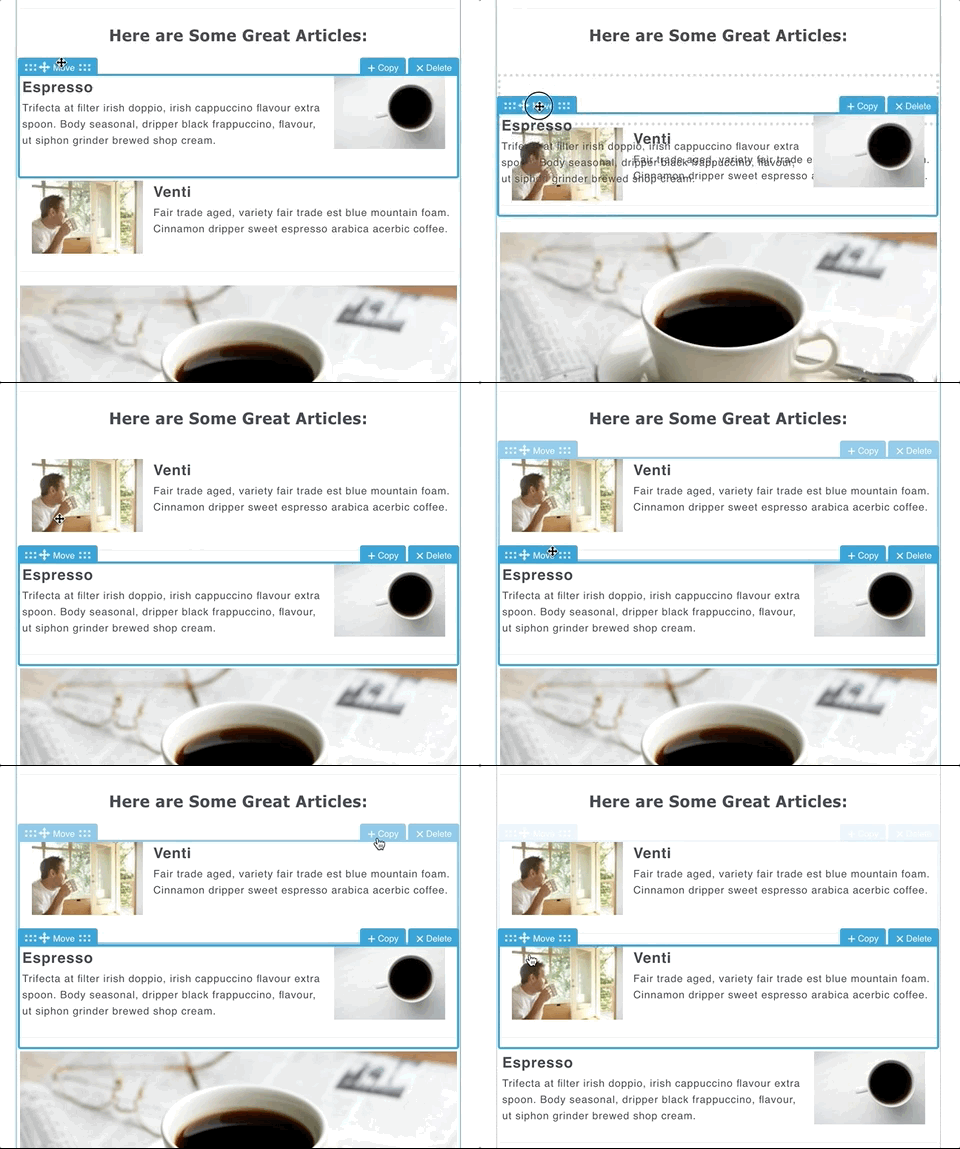
This is very helpful, but there will be times when you want to move, copy or delete multiple elements contained in a row. We’ve recently add the ability to copy, which makes repeating certain sections a breeze.
Hide the element controls
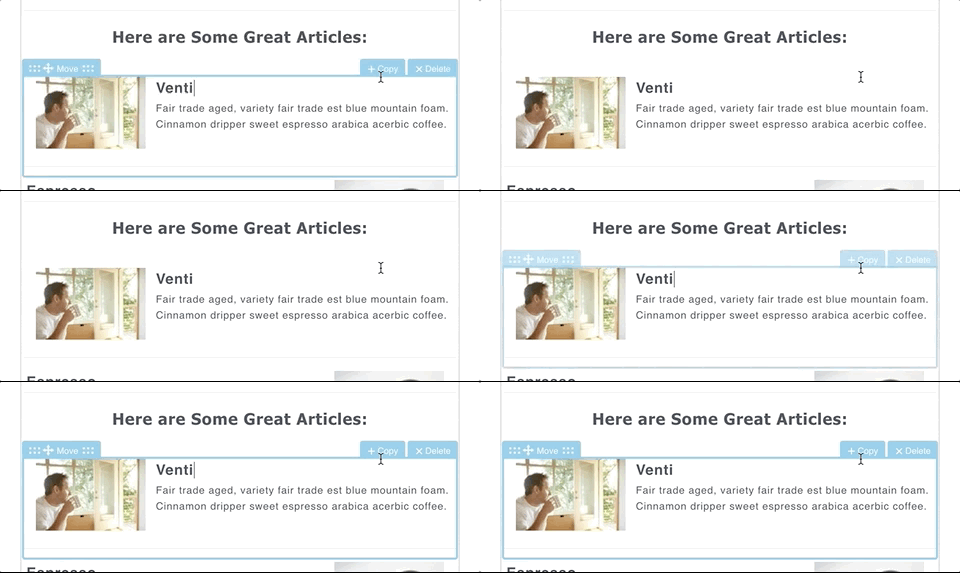
When crafting content, especially in tighter rows, you’ll occasionally find that the Drag & Drop Email Editor handles may get in the way of a line of text you’re attempting to click and edit. There’s a simple pro-tip for this. By holding the Alt and Command keys on a Mac and the Alt and Win keys on Windows, you can easily hide the element options to allow for unhindered editing.
Add your signature
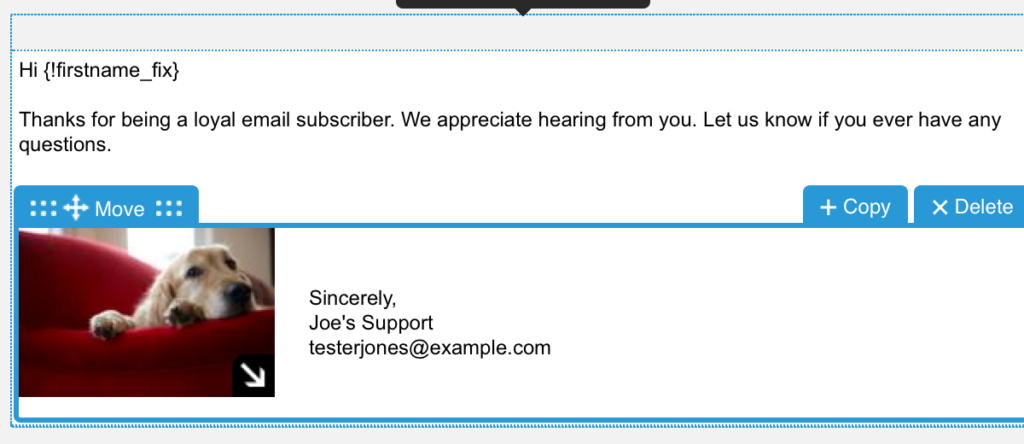
If you use the same signature to sign off on your emails, consider using AWeber’s signature snippet.
This has many time-saving benefits, especially if you’re creating numerous automated emails.
Rather than typing your signature into each message, you can insert your signature snippet. If you ever need to update your signature, you can make changes in one centralized location and any future messages you send will reflect the new updates.
You can manage your signature under List Options in your List Settings, and you can insert your signature into a draft using the Signature personalization snippet, or be dragging in the “Signature Block” within the editor. Here’s a more detailed tutorial on using this feature.
Start building remarkable emails today
These are just a few tips and tricks to help you speed up and optimize your email creation. We haven’t even explored our free image hosting, stock images, social sharing or the video element. Stay tuned for more content to help you create and send engaging emails with AWeber.
Log in to your AWeber account today to start implementing these pro-tips, or sign up for a free 30-day trial and put our editor to the test.
Have a question about any of the tips I shared in this post? Comment below.


