
Here’s the deal:
If you’re new to the WordPress block editor, or if you’re looking for an easy-to-read resource you can reference as needed, you’ve come to the right place.
In this post, we’re going to walk you through the ins and outs of the block editor (aka “Gutenberg”) — what it is, how it differs from the classic editor, and how to use it.
Let’s jump in.

WordPress Block Editor (Gutenberg) Overview
What is the Gutenberg Editor?
When WordPress 5.0 was released in December 2018, the world was introduced to the Gutenberg editor — now known as the WordPress block editor.
Gone was the classic, TinyMCE WordPress editor. In its place was a modern, drag-and-drop block editor offering an entirely new content creation experience.

Drag and drop in action
In short, Gutenberg is a total revamp of the WordPress editor.
Using “blocks”, users of all experience levels can build custom posts and pages — without having to use third-party tools and plugins, and without having to know how to code.
What is a Content Block in WordPress?
Blocks are the vessels for your content.
With blocks, you can insert, rearrange, and style content in WordPress. What types of content? Here’s a small sampling (we’ll go over all of them later):
- Tables
- Images
- Videos
- Paragraphs
- Quotes
- Shortcodes
- Social media (YouTube, Facebook, etc.) embeds
- Widgets
Basically, anything you can reasonably imagine adding to a blog post or article can be added using blocks.
And you can add them faster and easier.
How is the WordPress Block Editor Different than the Classic Editor?
Here’s a quick side-by-side comparison.
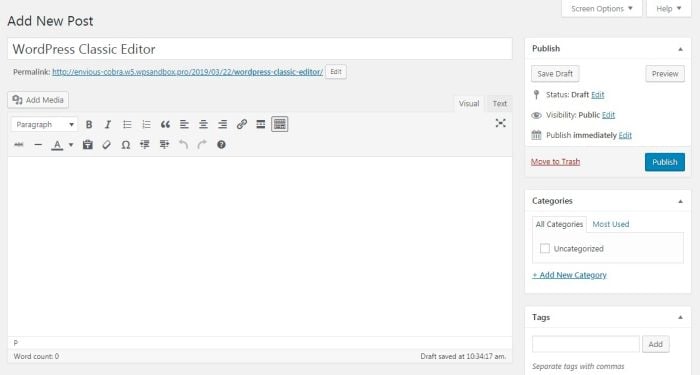
First, the classic TinyMCE content editor:

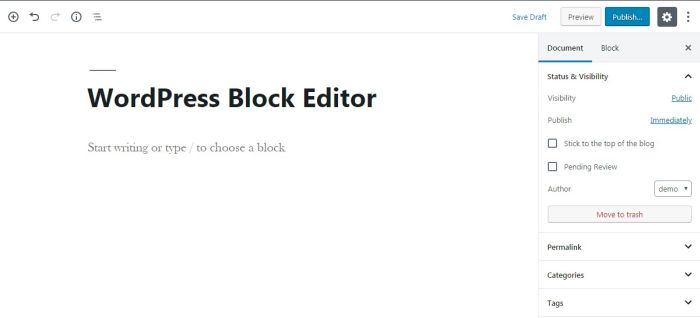
Next, the new “Gutenberg” block editor:

The classic editor is reminiscent of Microsoft Word. There’s a place to write your text, and there’s a formatting toolbar to style your content (bold, italics, etc.).
The new editor uses a block system for content creation. Besides looking more polished and modern, the WordPress block editor allows you to:
- Add tables (again, without knowing code or having to install plugins);
- Arrange, rearrange, and mingle text and media by simply dragging and dropping elements from here to there;
- Create content columns with ease;
- Change the background colors and font sizes in each block;
- Reuse blocks you use over and over (to save yourself time).
And that’s just the tip of the iceberg.
In other words, the two editors are different.
Very different.
How do I Use the Block Editor in WordPress?
With the background information out of the way, it’s time to walk you through the new block editor.
We’ll start with how to navigate it:
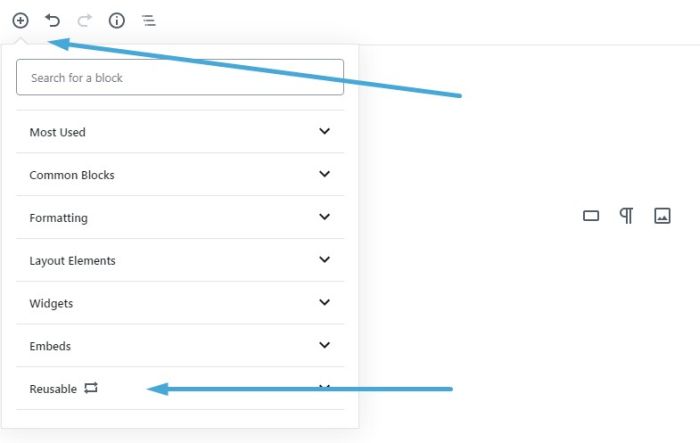
Block Navigation

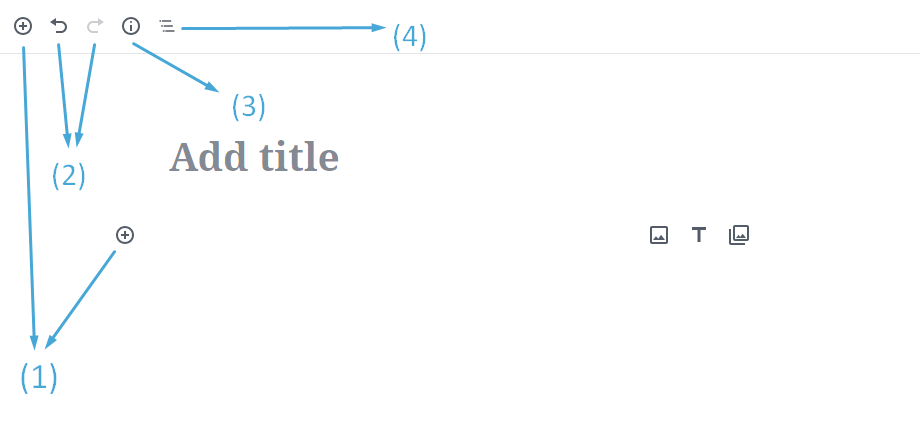
- Add a new block
- Undo and Redo buttons
- Content structure (word count, headings, paragraphs, blocks)
- Block navigation (a drop-down displaying all the block types used in the post)
Sidebar Navigation

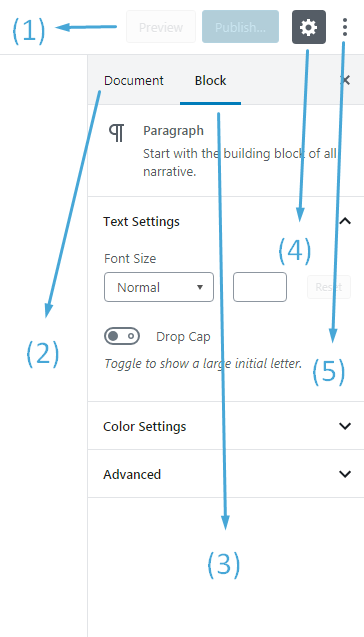
- Preview and Publish the post
- This is the classic WordPress sidebar: categories, tags, permalink, and publishing options
- Block settings: when you click on a block in the editor, you get its unique set of options in the sidebar
- Hide sidebar
- More editor settings
How to Add a Block
In your WordPress dashboard, create a new post as you would normally. (Or, open an existing post so you can edit it.)
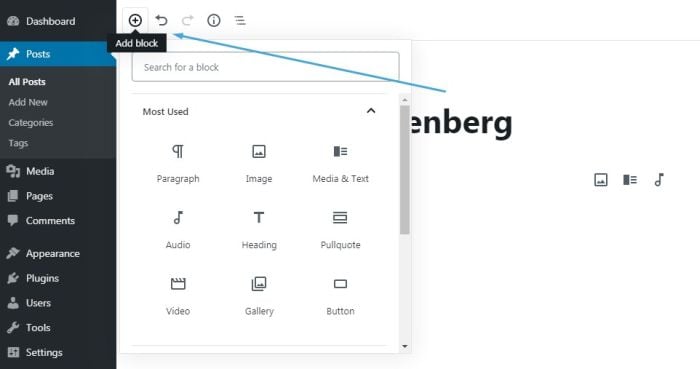
Click on the plus (+) sign in the top-left corner of the editor.
Select the category and the type of block you want to insert:

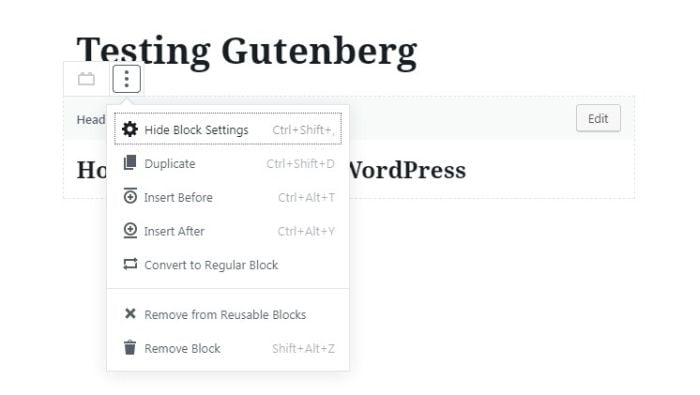
Each block can be edited, deleted, saved as reusable, and moved up or down with drag-and-drop options.
Once you’re done with a block, you can insert more blocks. You can also duplicate a block or edit it in HTML:

Types of WordPress Blocks (and How to Use Them)
Here are each of the types of blocks (broken down by category) offered by Gutenberg:
Common Blocks
This category of blocks contains the basic (“common”) elements people typically use in their blog posts. Most bloggers and writers will use these blocks more than others.
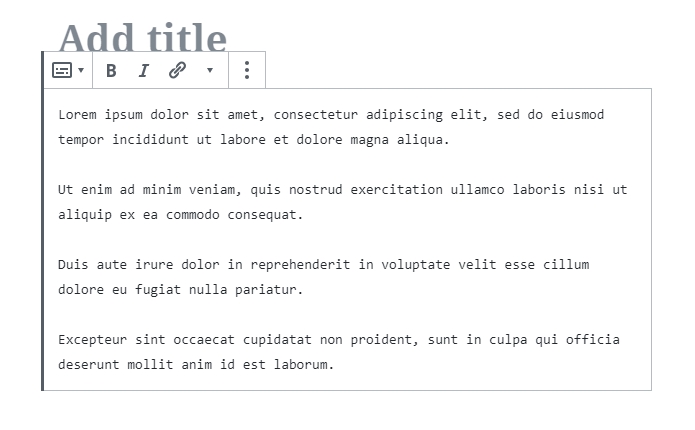
Paragraph Block
The Paragraph Block is simply a box for writing your text.
It comes with the standard formatting options — text alignment, font size, background and text color, drop cap, and more.

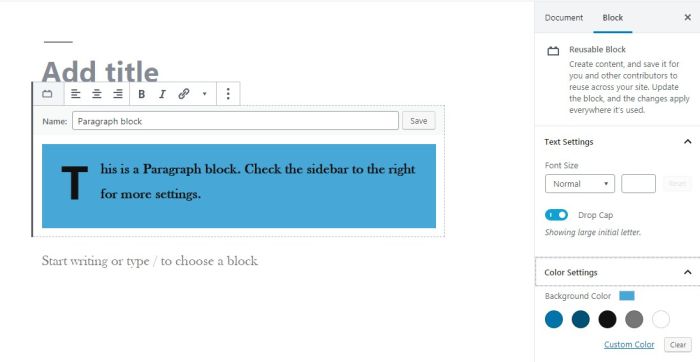
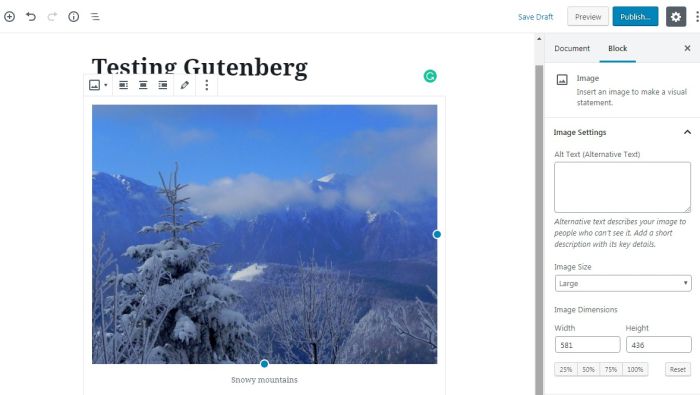
Image Block
With an Image Block, you can easily insert an image by uploading it from your computer, picking it from WordPress media library, or copying its URL.
The standard WordPress options for images are included: you can add a caption, adjust the image size, add alt text, and more.
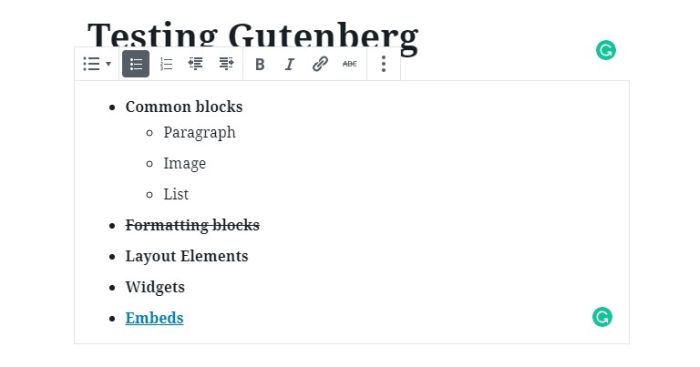
List Block
With a List Block, you can create a list of items ordered by bullets (unordered list) or numbers (numbered list).
You can also add sub-items for each main item in the list, insert anchor links, and format the text.

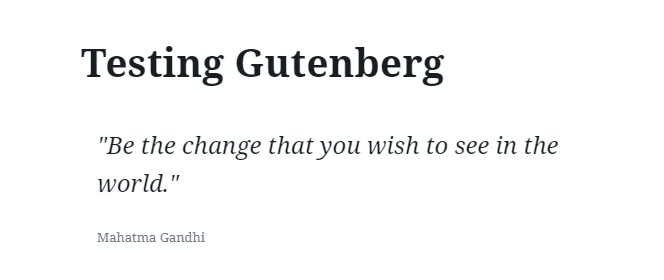
Quote Block
The Quote Block lets you add your favorite quotes in a beautiful, elegant style.
Write the text and its author, then format it just as you would in a Paragraph Block. You can use the default font size or a larger size.

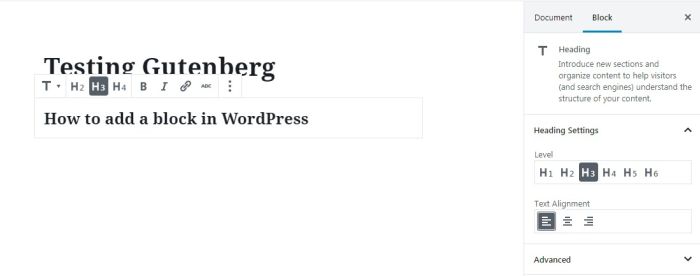
Heading Block
With a Heading Block, you can start a new section inside your post.
You can choose from six heading sizes. The first three are available inside the block, while the smaller ones can be found in the sidebar to the right of the editor.

If you’d like to learn more about them, here’s a post we wrote about common subhead blunders.
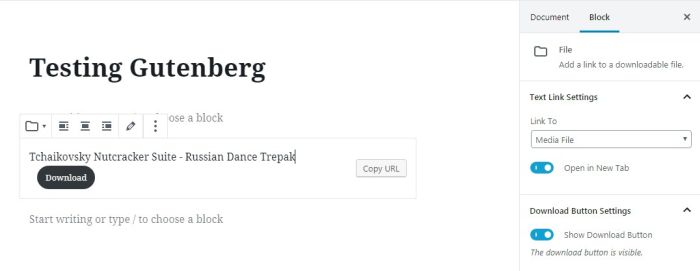
File Block
With File Blocks, you can add all sorts of files for your visitors to download: images, archives, docs, PDFs… you name it.
From the sidebar, you can choose to display a download button, open the file in a new tab, and link to either a media file or an attachment.

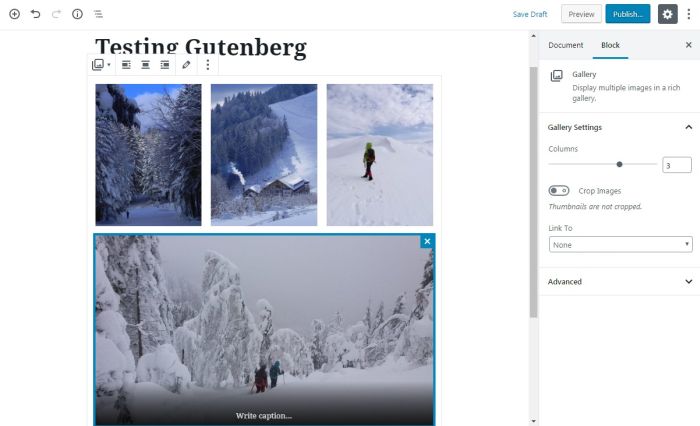
Gallery Block
A Gallery Block is for when you want to add more than one image. It has the same features as the Image Block, but you can upload multiple images within the same block.
The gallery displays a nice grid layout. In the right sidebar, you can choose the number of columns in the gallery and each image’s destination page.
Captions are also allowed.

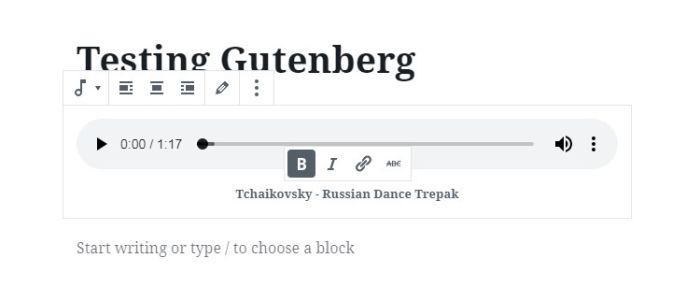
Audio Block
Planning to feature music or a podcast interview on your site? You can use the Audio Block to upload and play audio files.
The block will display a minimalist audio player. You can choose to play it automatically and/or in a loop.

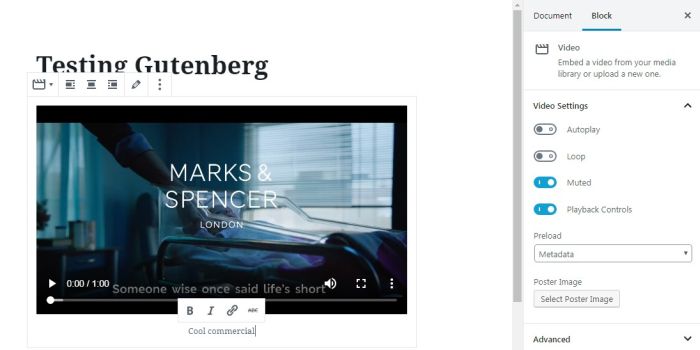
Video Block
Using the Video Block, you are able to upload videos.
You have the option to autoplay and/or mute them. An awesome feature is you can upload a poster image for the thumbnail (in case you don’t want to display the featured capture it fetches by default).

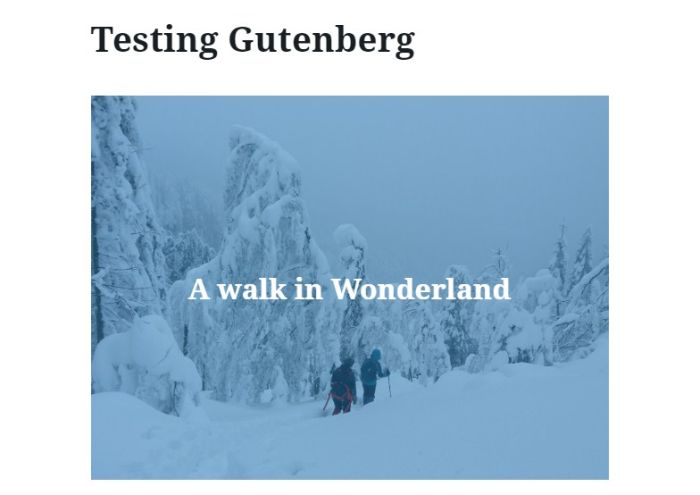
Cover Block
Using a Cover Block, you can create an image or video with text overlay. You can use it as a featured image for a post or as a header.
You can also adjust the background color and opacity.

Formatting Blocks
This category groups blocks that focus on formatting content, such as pull quotes, tables, and verses.
Let’s go over each of them:
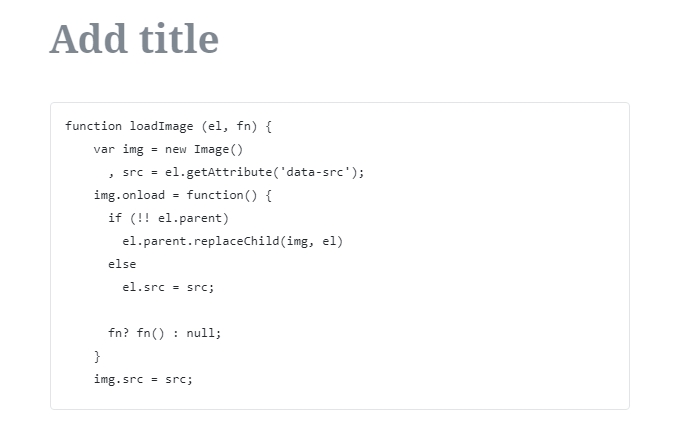
Code Block
Use the Code Block if you want to show your readers examples of code snippets.
The code won’t be executed; instead, it will display in a distinct style so it stands out to your readers.

Classic Block
With a Classic Block, you can add a block resembling the classic editor and its classic formatting options. It’s a miniature TinyMCE editor inside a block.

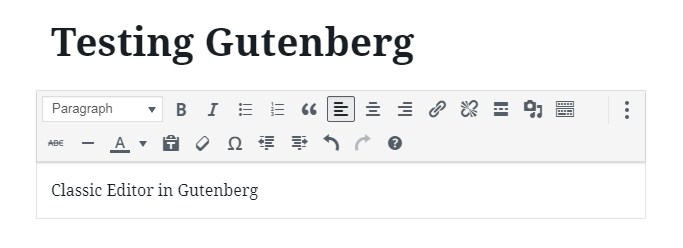
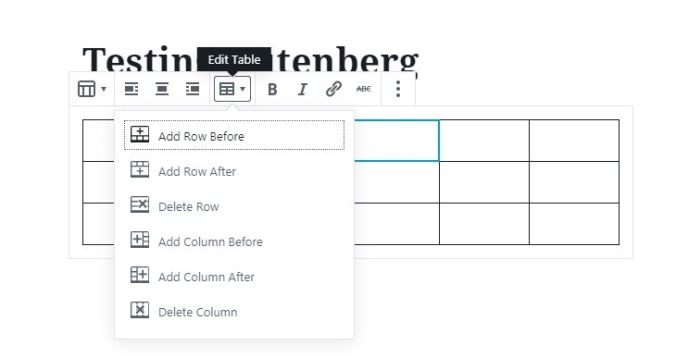
Table Block
A Table Block lets you easily insert a table in WordPress without plugins or having to know HTML code.
Write the number of rows and columns you need, pick the layout (default or stripes), and you’re set. Afterward, you can add rows and columns at the beginning or end of the table with one click.

Verse Block
With Verse Blocks, you can add song lyrics or poetry verses.
When you press enter, you won’t be directed to a new block like in the Paragraph Block; instead, it will jump to a new row. You can write as many verses as you wish while remaining in the same block.


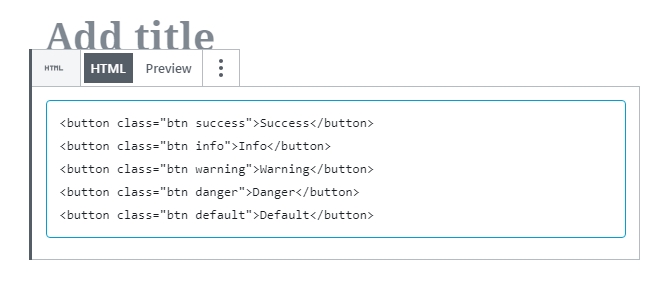
Custom HTML Block
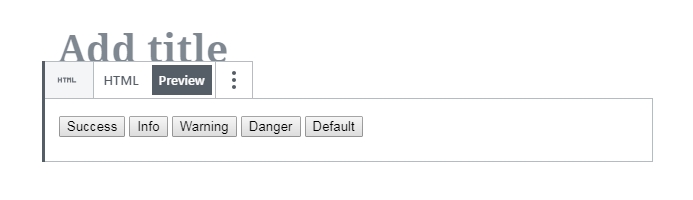
With Custom HTML Blocks, you’re able to write HTML code and quickly preview the changes.
You enter your code in HTML mode:

And you preview it in Preview mode:

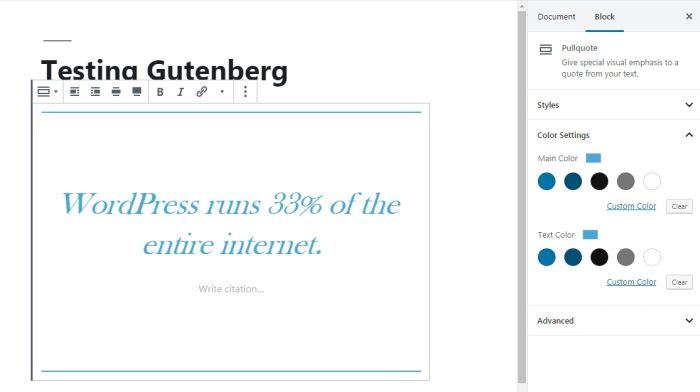
Pull Quote Block
When you want to emphasize an excerpt of your article, you can turn it into its own block with a Pull Quote Block.
What distinguishes a Pull Quote Block from a Quote Block is its formatting. A Pull Quote Block has colored borders.

Preformatted Block
Similar to the preformatted text option in the classic TinyMCE editor, a Preformatted Block lets you display the text on the front-end exactly as you type it.
The preformatted text uses a monospaced font, which means all characters have the same width.

Here’s a preview of the preformatted text:


Layout Elements
Blocks in this category help you beautify and arrange your post in a way that’s pleasing to the eye.
This includes blocks for adding colorful buttons, smart columns, media elements, and more.
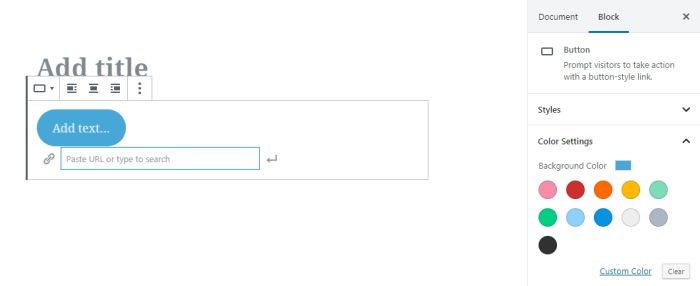
Button Block
A Button Block lets you add a button to your post. You can customize its style (round, square, etc.), color, and the action to take place once it’s clicked.

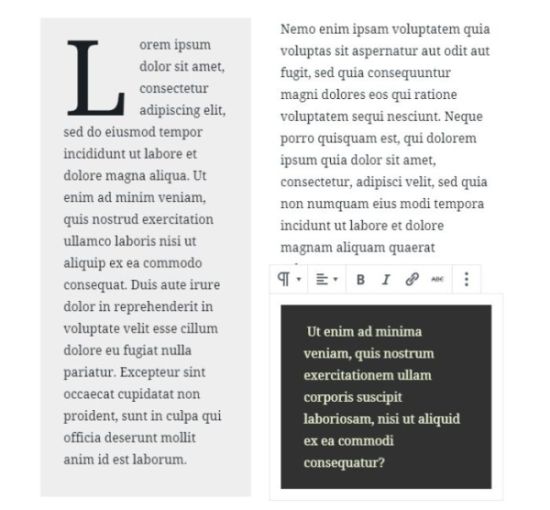
Columns Block
If you need to present your text in columns (“newspaper” style) rather than in full width, the Columns Block lets you do it quickly and easily.

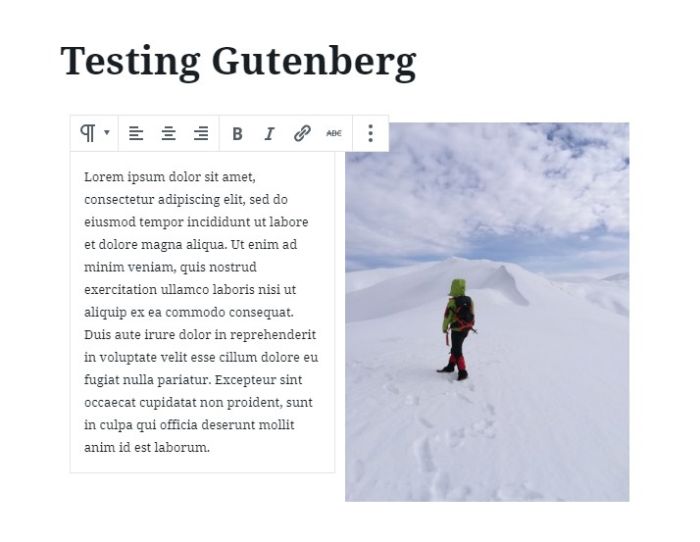
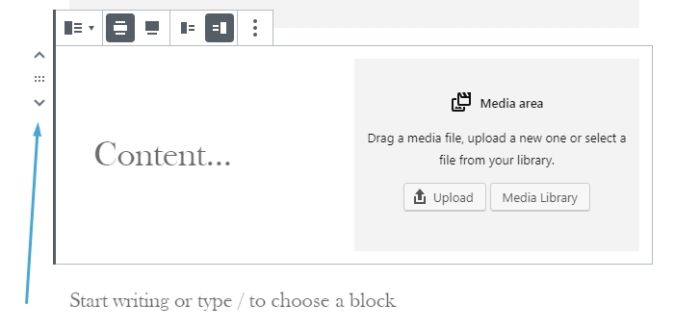
Media & Text Block
In the classic editor, placing images and text side by side required some developer skills. With the Media & Text Block, you can do it in just a few clicks.

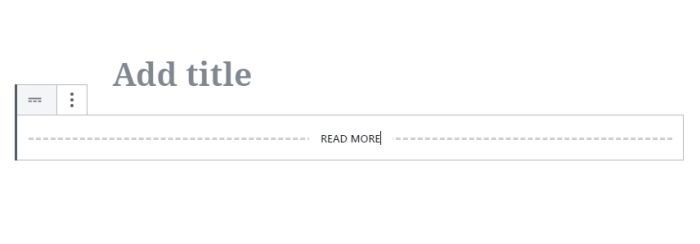
Lines and Separators Block
A Lines and Separators Block, as its name implies, allows you to add spacers between one piece of content and another.
This includes page breaks, line separators, and more.

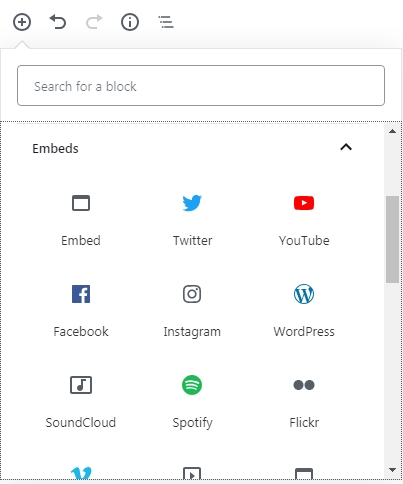
Embeds
The Embeds category lets you add content from social media sites, platforms, or any site from which you want to share posts or files.
You can choose to add blocks for Twitter, YouTube, Spotify, Flickr, and more.

If you choose “Facebook” from the above list of blocks and paste a Facebook URL…

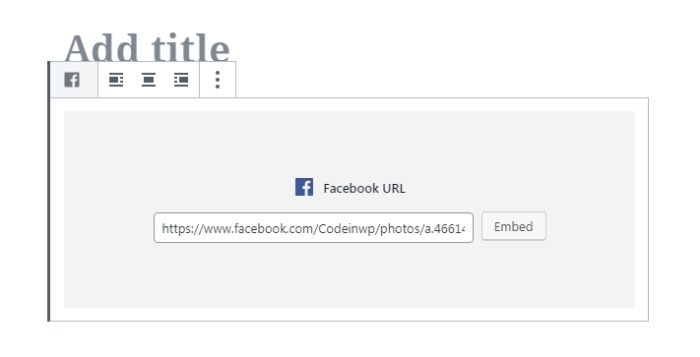
…you’ll be able to embed the Facebook post directly inside your post:

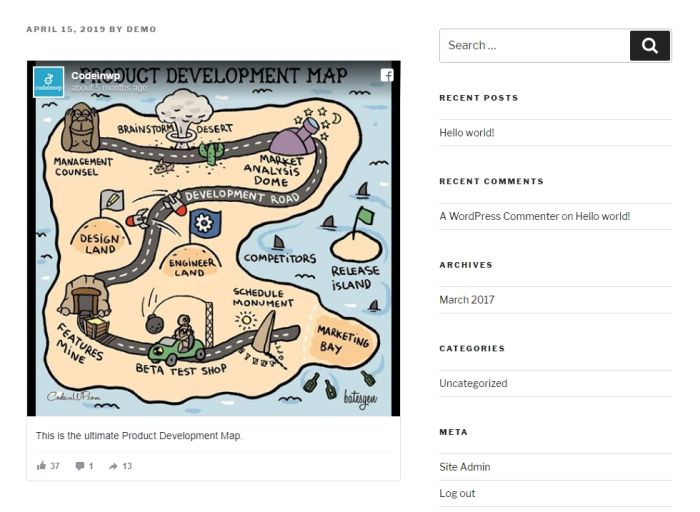
In the classic editor, this was significantly more difficult to do.
Widgets
With the Widgets category, your existing WordPress widgets (which were usually restricted to your blog’s sidebar or footer) can be easily added inside the body of your posts as blocks.

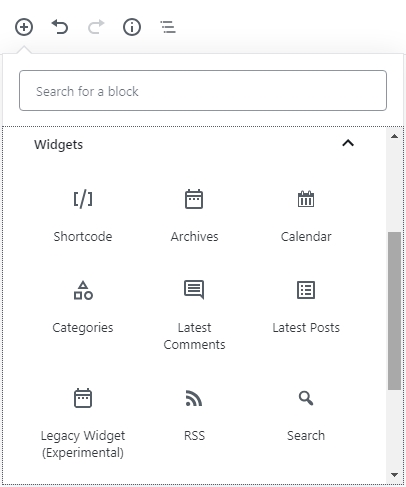
Want to display a search bar or the latest comments on your blog right inside your post? You can by using the applicable widget block.
Need More Blocks? Try These Gutenberg Plugins for WordPress
As you can see from the list above, Gutenberg comes with a large selection of blocks right out of the box.
But if you need more, there are several WordPress plugins to give you even more functionality.
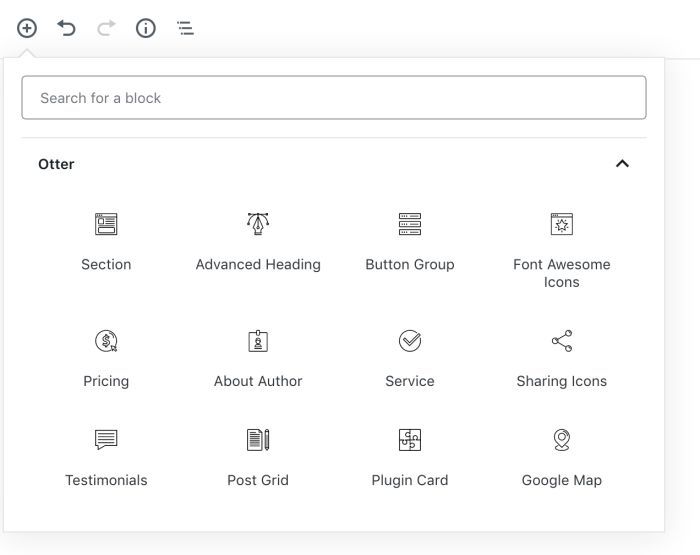
Otter Blocks Plugin
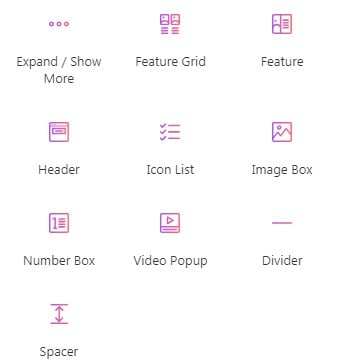
Otter Blocks is a free WordPress plugin providing 12 additional blocks, including Font Awesome Icons and Testimonials.
Once you’ve installed and activated the plugin, these new blocks will appear under the “Otter” category:

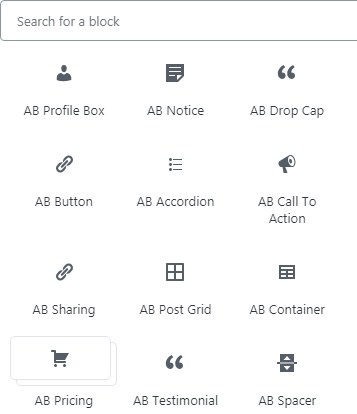
Atomic Blocks Plugin
Atomic Blocks is another freebie offering (as of this writing) 14 new blocks focused on product owners. These blocks will appear inside the “Atomic Blocks” once you’ve installed the plugin.

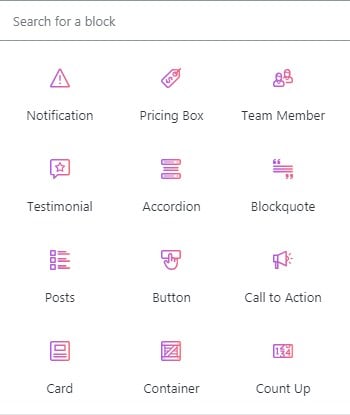
Stackable
Stackable provides 22 free blocks, some of which are already available in Gutenberg. However, they come with a different design.
If you work a lot with images, this plugin gives a few interesting layout solutions to blend text and visuals in an interesting way.


Common WordPress Block Editor Questions
Before we wrap up, let’s look at a few common questions related to Gutenberg. This is a living section and will be updated as time goes on, so if you have a question be sure to leave it in the comments section below.
How do I Rearrange Blocks?
Once you’ve created a block, you can drag and drop them as you please.
Hover over the block you want to reposition, then click and hold the dots icon to move it. Or, you can click the arrows above and below the dots to move the block up or down one position at a time:

How do I Create Reusable Block Templates?
If you want to use a block more than once, click on the ellipsis (3 dots) and choose the “Add to Reusable Blocks” option:

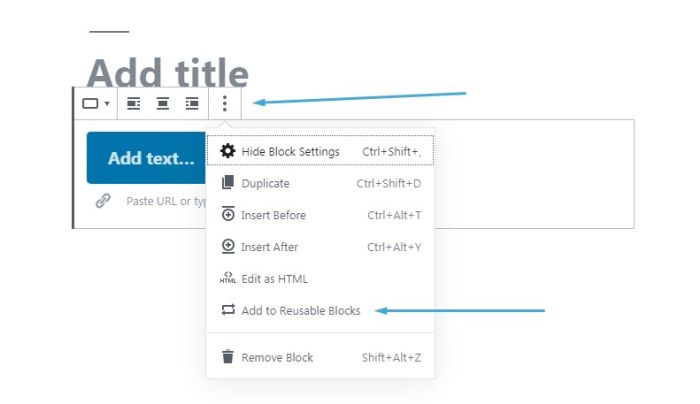
The block will be saved as a reusable block.
Once you saved at least one reusable block, the “Reusable” category will appear among the other block categories:

How do I Disable the New Editor in WordPress? (Or, How do I Revert to the Classic Editor in WordPress?)
If you install the Classic Editor plugin, the previous (“classic”) editor will be restored.
The WordPress core team has committed to supporting Classic Editor plugin until “at least 2022” or “as long as is necessary.”
So, if you’ve upgraded to WordPress 5.0 or later, and you find you’re not yet ready to make the switch to the new block editor, this official plugin from WordPress will allow you to use the classic TinyMCE text editor you know and love.
Can I Give Access to Gutenberg to Only a Few Users on my Site?
Absolutely.
If you have a bunch of different users and user roles on a single WordPress site, you can allow/restrict access to the block editor only to certain profiles/roles.
Is it Called Gutenberg, the Gutenberg Block Editor, the Block Editor, or Something Else?
“Gutenberg” was the project’s name when it was in development. As such, many still call it the “Gutenberg editor” or, simply, “Gutenberg.”
After the release of WordPress 5.0, it became known as the “WordPress Block Editor” or, simply, “block editor.”
But whatever you choose to call it, it’s all the same.
Is Gutenberg a Page Builder?
Not in its current state.
However, the block editor is merely the first of three planned stages.
Stage three, full site customization, would turn Gutenberg into a full-fledged page builder.
How do I Know if a WordPress Theme or Plugin is Compatible with the Block Editor?
Once Gutenberg was officially merged into the core of WordPress in release 5.0, theme and plugin authors/developers needed to update their products to ensure they were compatible.
Most themes and plugins, especially popular ones, are now compatible with Gutenberg. However, you should always make sure themes and plugins are compatible before you install and activate them on your website.
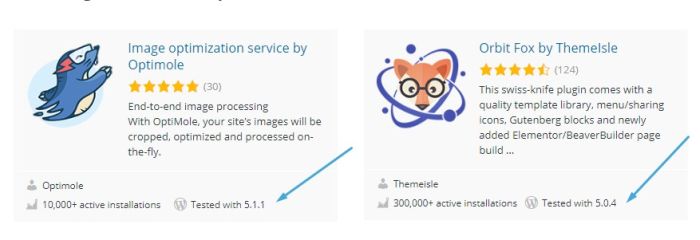
With plugins on WordPress.org, look for the “Tested with” label:

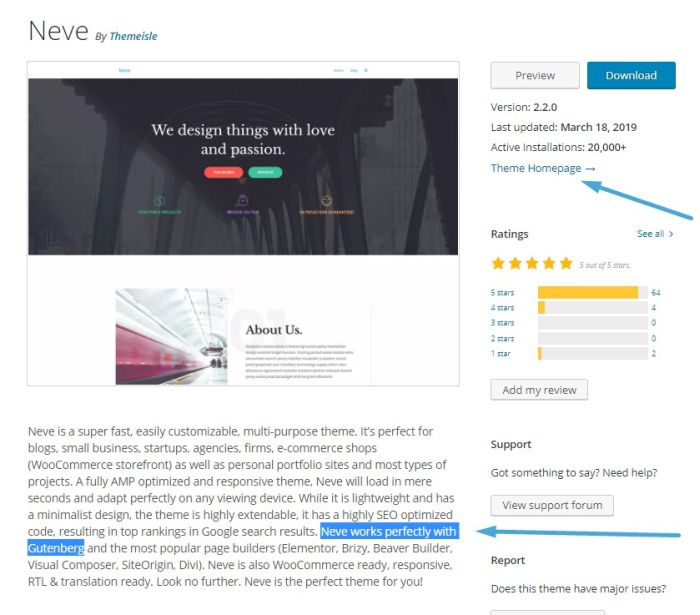
For themes, check if Gutenberg compatibility is mentioned on WordPress.org or its homepage:

What Happens to my Old Posts After I Switch to Gutenberg?
Don’t worry — your old content won’t disappear.
When you update your site to WordPress 5.0 or later, each of your old posts will be converted into a “classic” block, which is similar to the classic TinyMCE content editor.
You can choose to keep your old posts “classic,” or you can convert them into blocks.
How to Convert Old Posts into Blocks?
Click the ellipsis (3 dots) and choose the “Convert to Blocks” option:

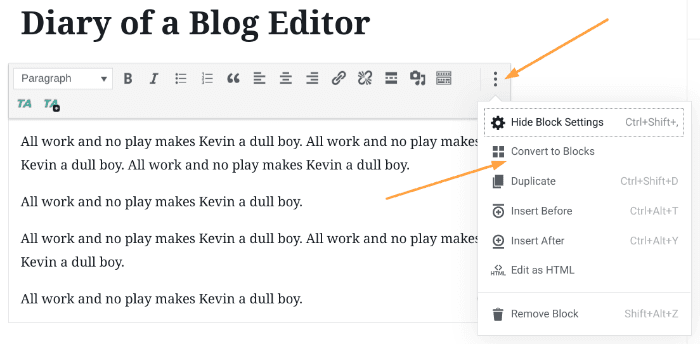
This will convert your post into a series of blocks, which you can edit, delete, and rearrange as you would normally.
Gutenberg isn’t so Scary
Though it differs greatly from the classic TinyMCE editor, you shouldn’t fear the new WordPress block editor.
It’s fairly intuitive, it’s powerful, and it eliminates much of the clutter keeping you from what truly matters: creating great content.
You now have a simple, easy-to-follow guide to help you navigate the new Gutenberg editor.
We hope you found it helpful.
If there’s anything you would like to see us add, or any questions you have about the new WordPress block editor, let us know in a comment below.