When I worked as a freelancer, I loved creating new brands. However, I found it to be time-consuming after a while to maintain multiple brands and their requests for different flyers or social media ads. I stumbled upon Canva and it helped me to manage my projects and also allowed my clients to create their own assets that matched the brand I had created for them. If you are struggling to manage multiple brands, here are some reasons why I think Canva is a great tool for your design and website projects.
Canva Highlights
- It’s economical. With the Canva for Work pro account, you will have access to over 300,000 free photos, illustrations, and templates. You also get access to millions of photos for just $1. Finding quality images is hard and can be expensive. This alone can save your projects time and money.
- It does the heavy lifting for you. You can magically resize designs, which ensures you are always using the right dimensions for projects or media outlets.
- It expands beyond digital. Also, you can download your designs to send to a local print shop or any online printing service. With Canva, you can export your design as a PDF at 300 dpi. Note, though, that you will have to make sure any images or assets you add to your design are high resolution.
Here are some tips to get you started with using Canva.
Set Up a Canva for Work Account
There are a couple of ways to set this up. If you want to manage those design assets, you can create new accounts for each brand under your main account. Keep in mind, every new account has its own monthly or annual subscription cost.
Set Up the Brand
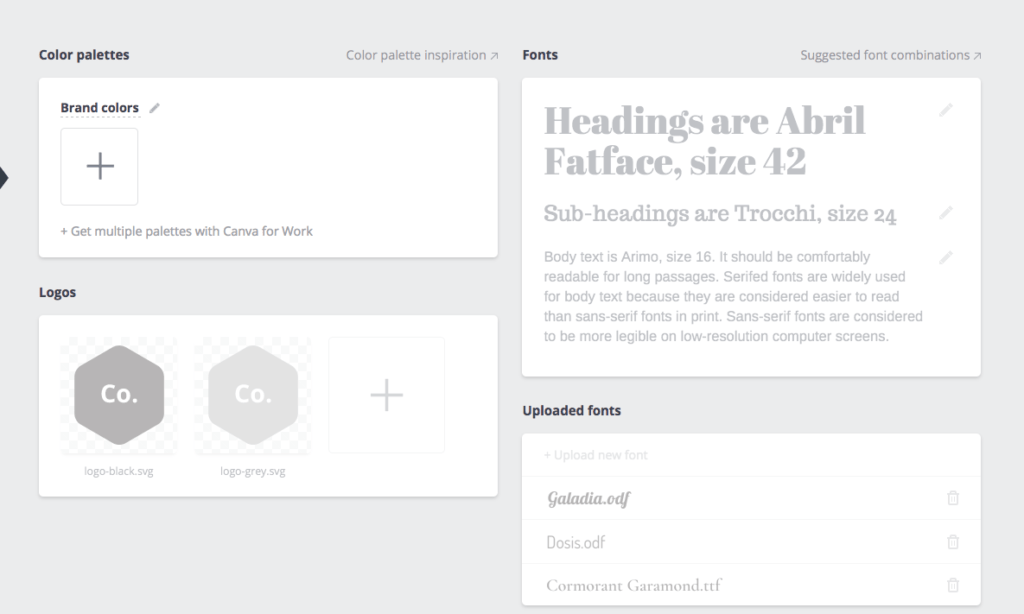
This is my favorite part. With the Canva for Work account, you can upload custom fonts from a style guide. So, if you used a really cool font in the logo, you can upload that to Canva so that font can be utilized on other assets. You can also specify what fonts should be used as the heading, sub-heading or body text.
Next, you can set the color palette. Take all of the colors from the brand’s style guide and add them to Canva so they can be easily used. It there are other designers or team members helping to manage the brand, this will ensure no one uses the wrong color on a graphic and that the brand’s look stays consistent.
Finally, upload logos. Here, I like to upload every possible version of the logo in all of its colors. Also, of course, make sure to upload the PNG versions with no background.
Now when you start a new project, the fonts, colors, and logos will be readily available for you to use.

3. Create Templates
Templates are great for the design-challenged. This powerful tool allows you to create a large variety of branded assets that can be reused and customized. Typically, your designer files aren’t editable by anyone unless they also have Adobe or some other expensive designer software. Now, you can empower anyone on your team to quickly create design assets that perfectly match the brand.
Canva editor is a really powerful tool. It has layering capabilities so you can easily create custom designs in Photoshop and add it to Canva in layers. Canva even allows you to have placeholder images so say if your template has an image with a filter, you can easily drop in a new image and retain any filters and text that are on top of that image.

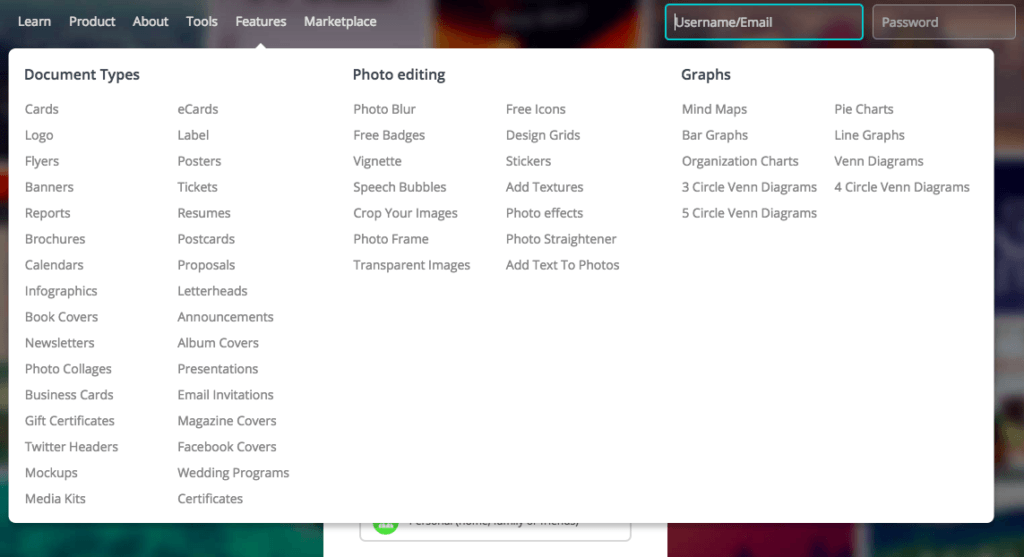
Below is a quick screen grab of all of the different template options you will have at your disposal. Remember, once you add the brand’s colors, logos, and fonts, the templates will automatically incorporate those for you. So you can feel confident that whatever you create, it is in alignment with your beautiful brand. For more information on this tool, visit the Canva website.
